
Sourdough Burger Buns (same day recipe)
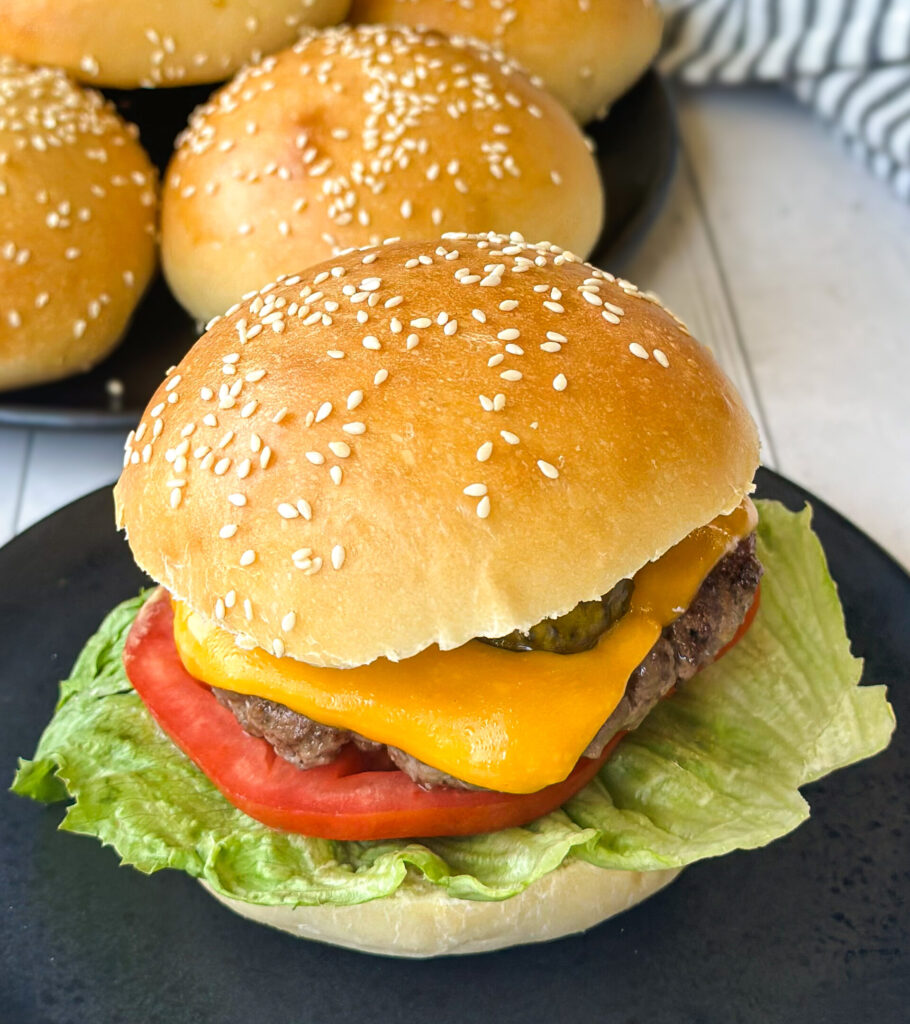
There is something about homemade hamburger buns that just elevate your burgers instantly. These Sourdough Burger Buns (same day recipe) are soft, buttery, and made to hold up even the juiciest burger. With a brioche style crumb and incredible sourdough flavor, they’re the kind of buns that steal the show and have everyone asking you to bring them to the BBQ. Even better? They can be made in one day!
Need hamburger buns in just a few hours? Try my Sourdough Discard Burger Buns recipe!
Why You’ll Love This Recipe
- Unbeatable texture: These buns have a soft, fluffy interior with a buttery richness that melts in your mouth.
- Naturally leavened: The sourdough starter gives each bun depth of flavor and a light tang, no commercial yeast needed.
- Versatile timing: Choose between same day or overnight proofing to fit your schedule.
- Better than store-bought: These buns don’t just match the bakery ones they beat them. You’ll have everyone asking for you to bring the buns to the BBQ!
Tools You’ll Need:
- Kitchen thermometer (optional)- helpful for checking internal temperatures. This is my go-to kitchen thermometer.
- Large mixing bowl or stand mixer bowl- for mixing your dough.
- Stand Mixer (optional)- for mixing dough.
- Digital kitchen scale (optional)– for accurate measuring, especially helpful with sourdough baking. I linked the one I like here.
- Measuring cups and spoons– for measuring ingredients.
- Whisk- to combine ingredients.
- Bench Knife- to cut dough into desired sizes. I love this one linked here.
- Pastry Brush- to brush buns with egg wash (you can also use a folded paper towel).
- Baking Sheets- for baking the buns.
- Parchment Paper- for lining the baking sheet.
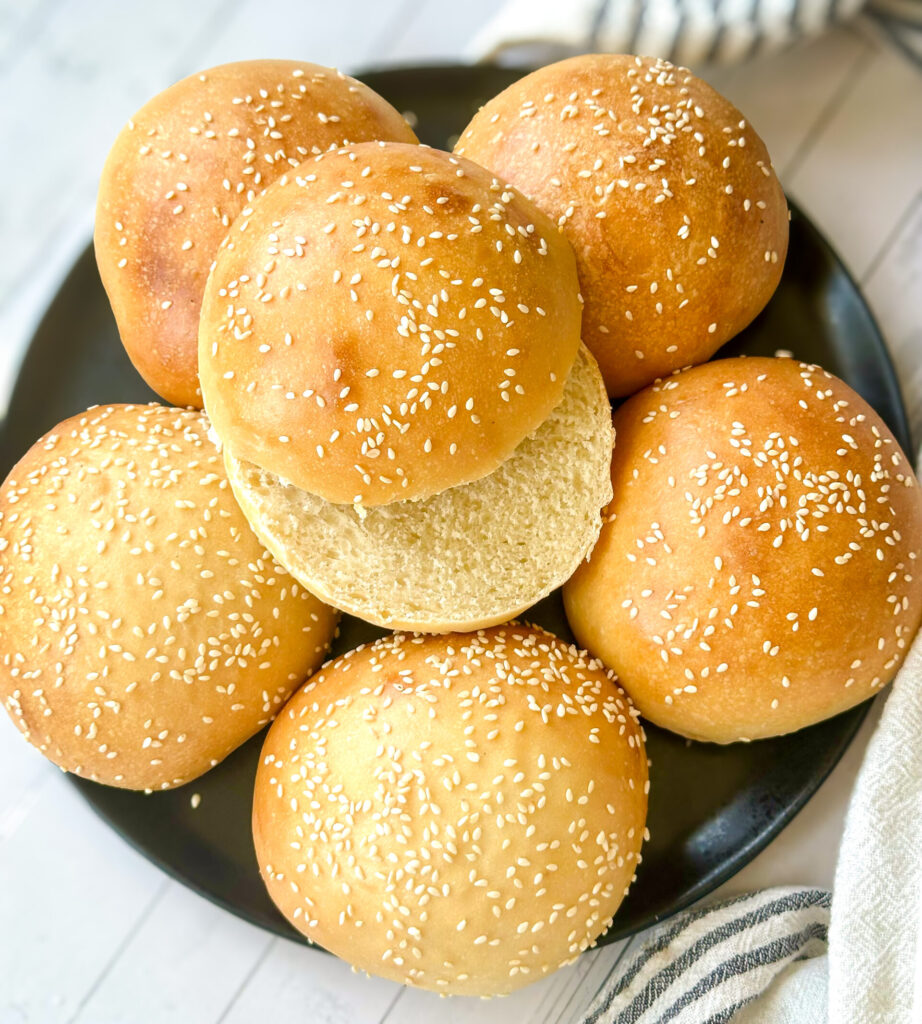
Gather Your Ingredients:
- Sourdough starter- recently fed and doubled and ready to use in the recipe.
- Bread flour– Higher protein flour supports the rich dough and creates a mores structured bun. All-purpose flour can be used for a a softer bun if you prefer.
- Whole Milk– Adds moisture and softness to the crumb.
- Water– Gives the buns a light and fluffy crumb.
- White granulated sugar- Sweetens the buns and gives them a golden finish.
- Egg– Enriches the dough and adds structure and softness. You’ll also need egg of the egg wash.
- Unsalted Butter- Make the dough tender and flavorful.
- Avocado Oil- Extends the shelf life of the buns. You can substitute for any neutral cooking oil.
- Salt– Balances sweetness and strengthens gluten.
- Sesame Seeds (optional)– Adds texture to buns and a nutty flavor. Gives buns traditional hamburger bun appearance.
Instructions
Step 1: Mix the Dough
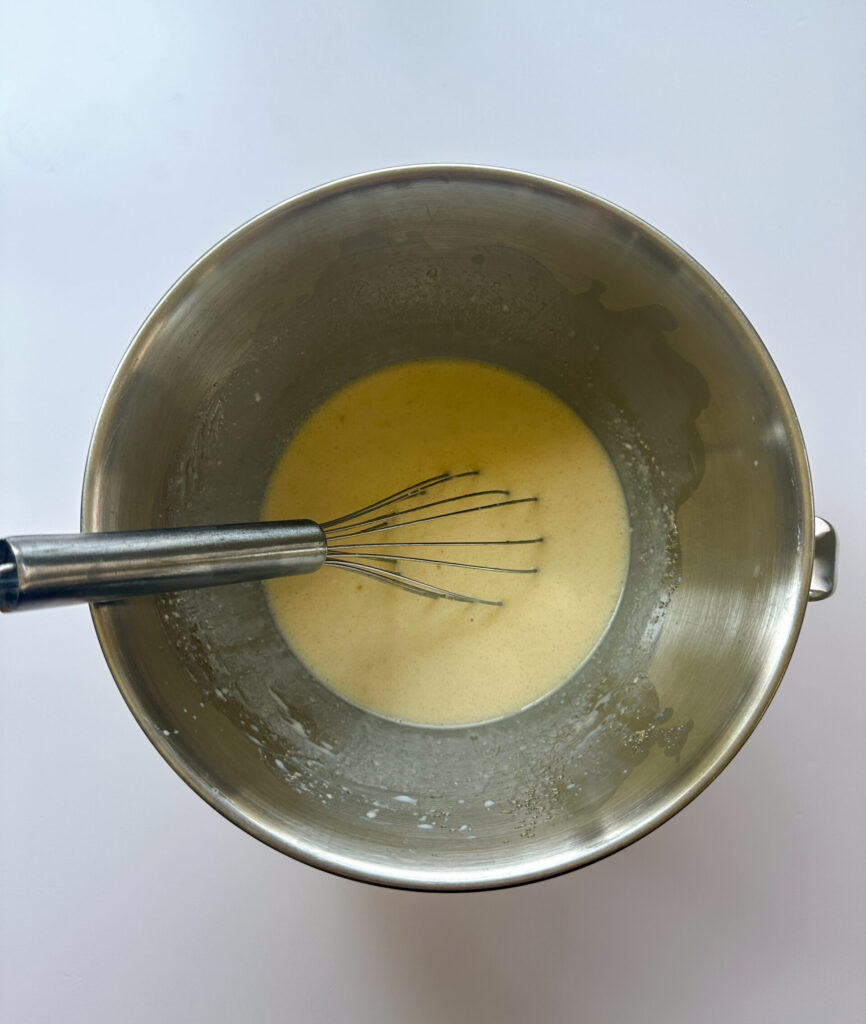
In a large bowl or the bowl of your stand mixer, add the sourdough starter, whole milk, warm water, sugar, egg, and oil. Whisk until everything is loosely combined, a few lumps are okay.
After you combine the wet ingredients, add the bread flour and salt to the bowl.
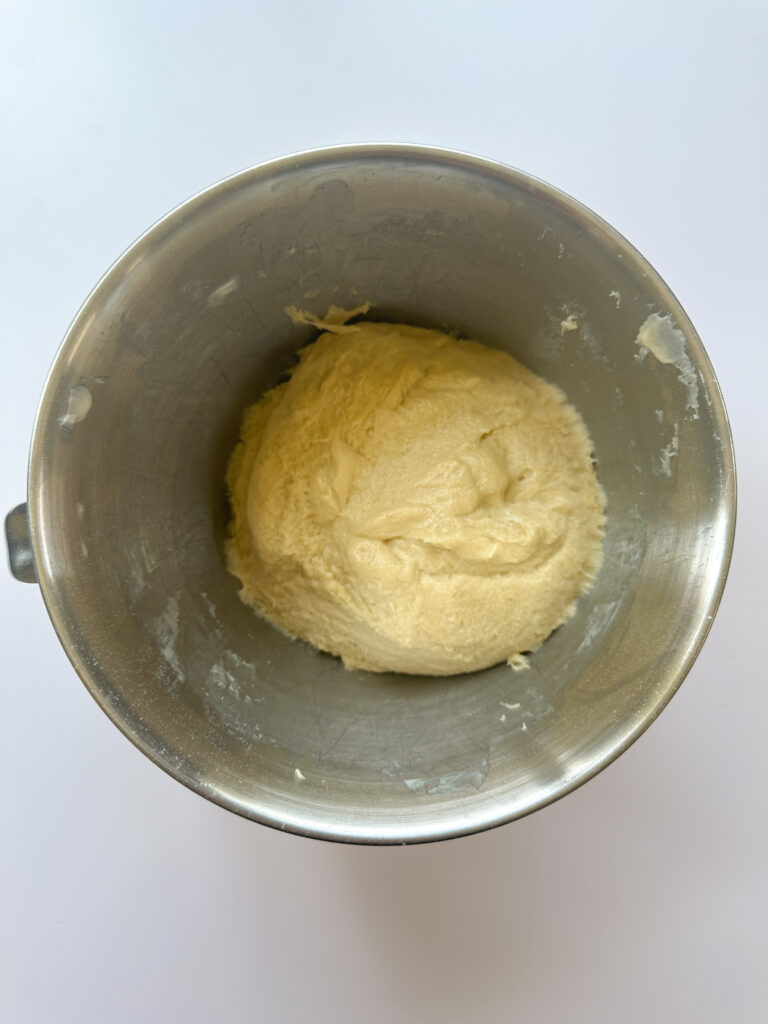
Mixing by hand: If you’re mixing this dough by hand, mix and knead the dough together until it’s a shaggy ball. This should take about 5 minutes.
Add the butter by the Tablespoon and knead it slowly into the dough until incorporated. This should take another five minutes.
Mixing with a stand mixer: If you’re using a stand mixer, knead the dough on the lowest setting for 5 minutes, scraping the bowl halfway through to make sure everything is incorporated.
Add the butter by the Tablespoon into the dough with the mixer on low speed, until all of the butter is worked into the dough. This should take about another five minutes.
Once the dough is mixed, grease a bowl or container large enough for the dough to double with cooking spray and transfer the dough to the container. Cover the dough with plastic or a lint-free towel, and allow the dough to rest 20 minutes.
After 20 minutes, perform one set of stretch and folds to work the dough to strengthen the gluten.
How to do a stretch and fold: Starting at the edge of the dough with lightly wet hands, gently lift one edge of the dough, stretch it up, and fold it over the center. Rotate the bowl or container 90 degrees and repeat with the next side. Do this for all four sides of the dough to form a ball.
Step 2: Bulk Fermentation
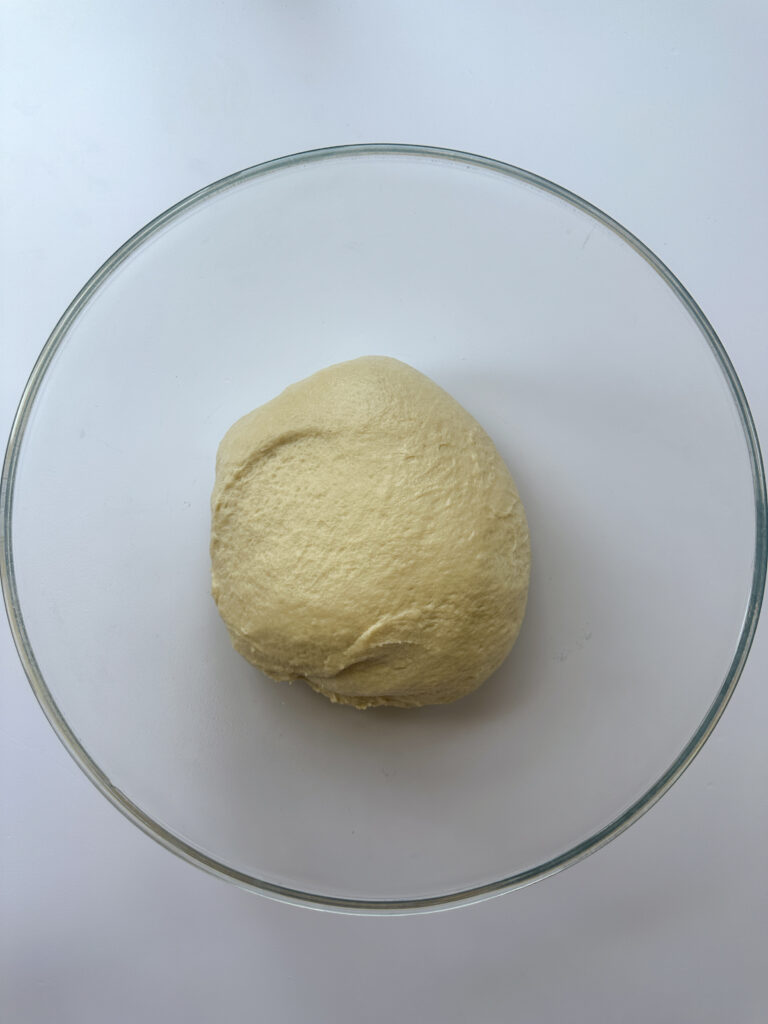
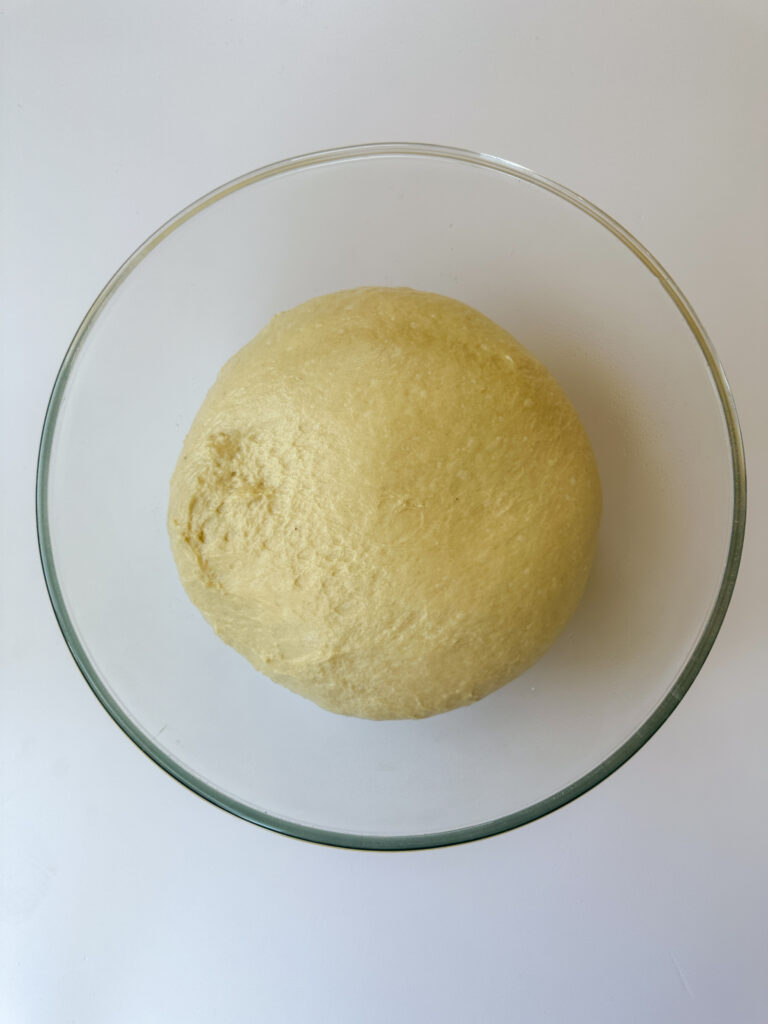
Cover the dough and allow it to rest in a warm spot until it has reached a 90 percent rise.
Note on Temperature: Your dough loves a warmer climate, so aim to keep your dough between 73-78 degrees (you can use your digital thermometer to check the temperature).
Step 3: Shape the BUNS
Turn the dough out onto a lightly floured or oiled surface. Divide into 8 equal portions (about 140-150g each).
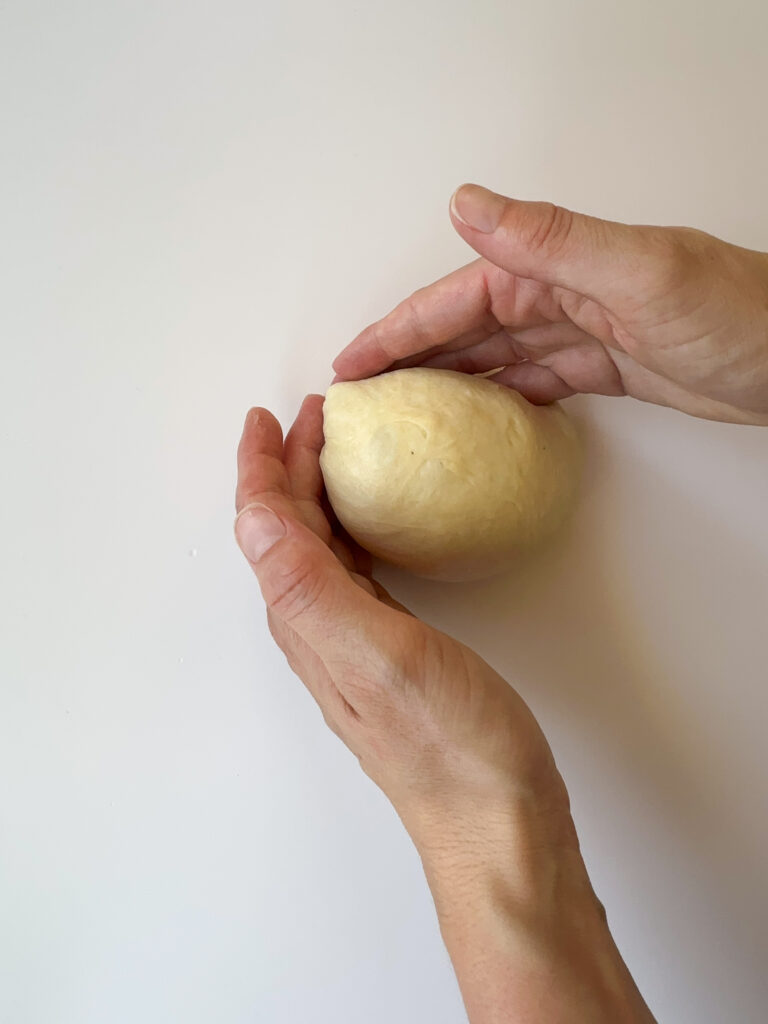
Shape each section of dough into a tight ball by cupping your hand and rolling it on the counter in a circular motion.
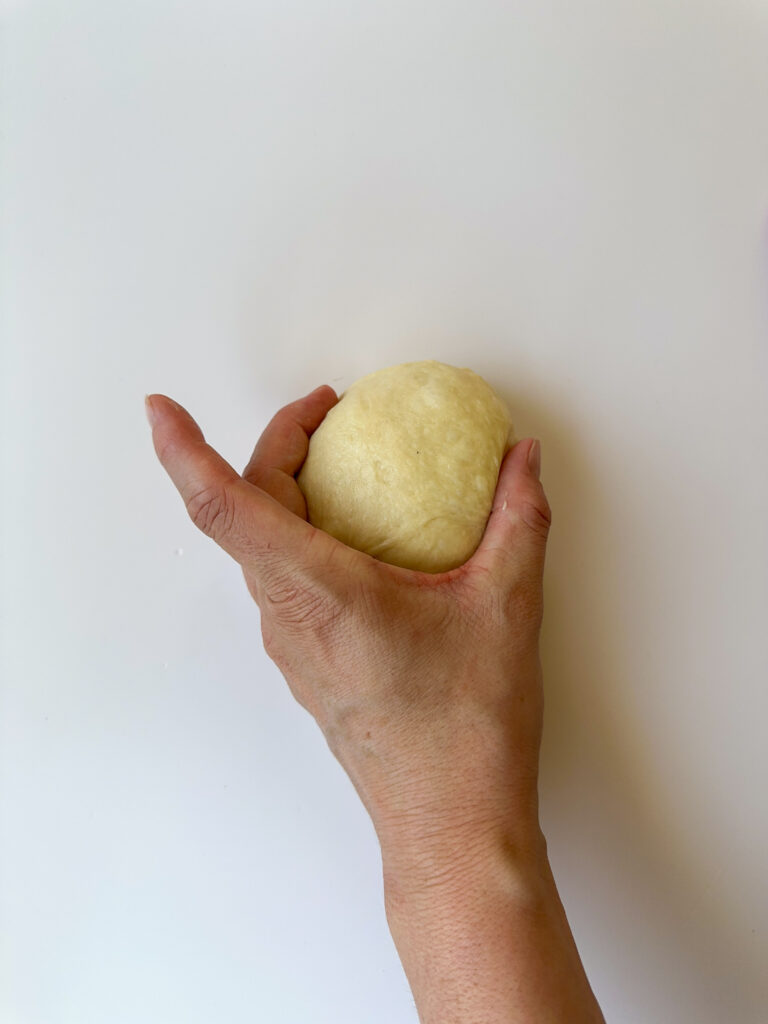
Transfer the dough balls to a baking sheet lined with parchment or a silicone mat, spacing the buns evenly. I usually do 4-6 buns per baking sheet so they have plenty of space.
Cover the trays of buns with a damp lint-free towel or oiled plastic wrap for the final rise.
Step 4: Bake the Buns
Let the buns proof at room temp for about an hour, or until buns are noticeably puffy and almost doubled in size.
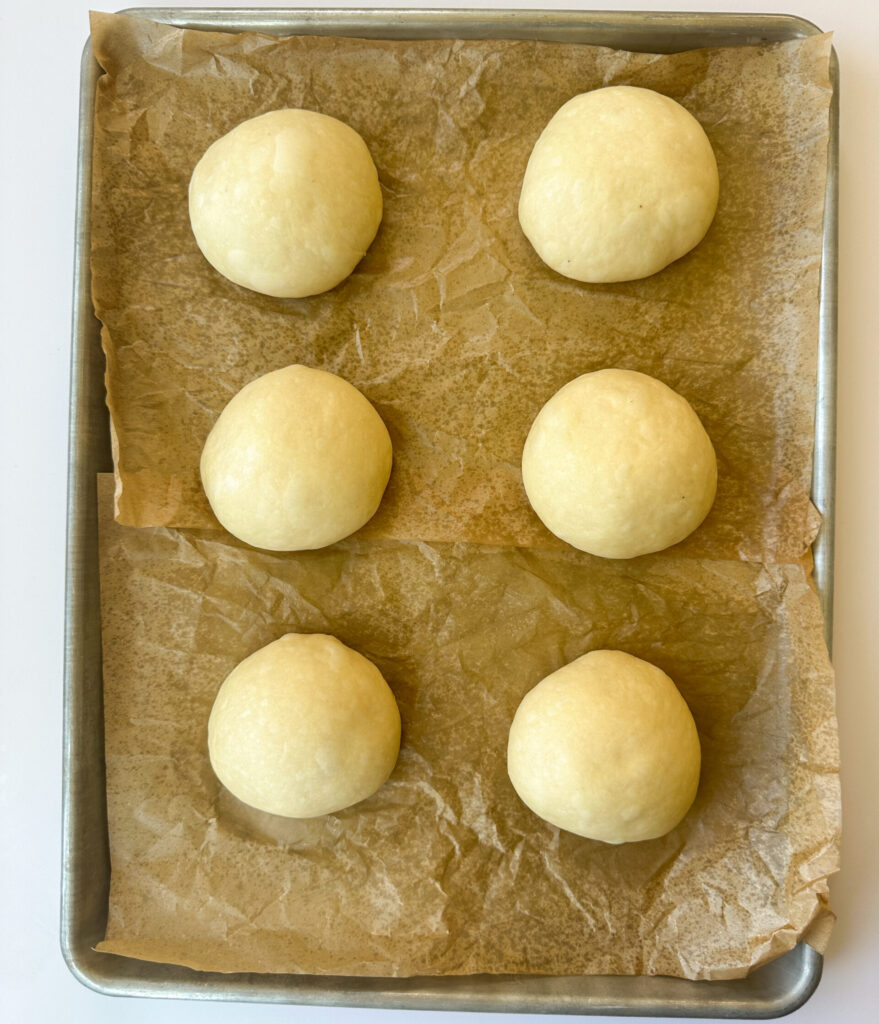
Preheat the oven to 375°F (190°C).
Beat 1 egg yolk with 2 teaspoons of water in a small bowl.
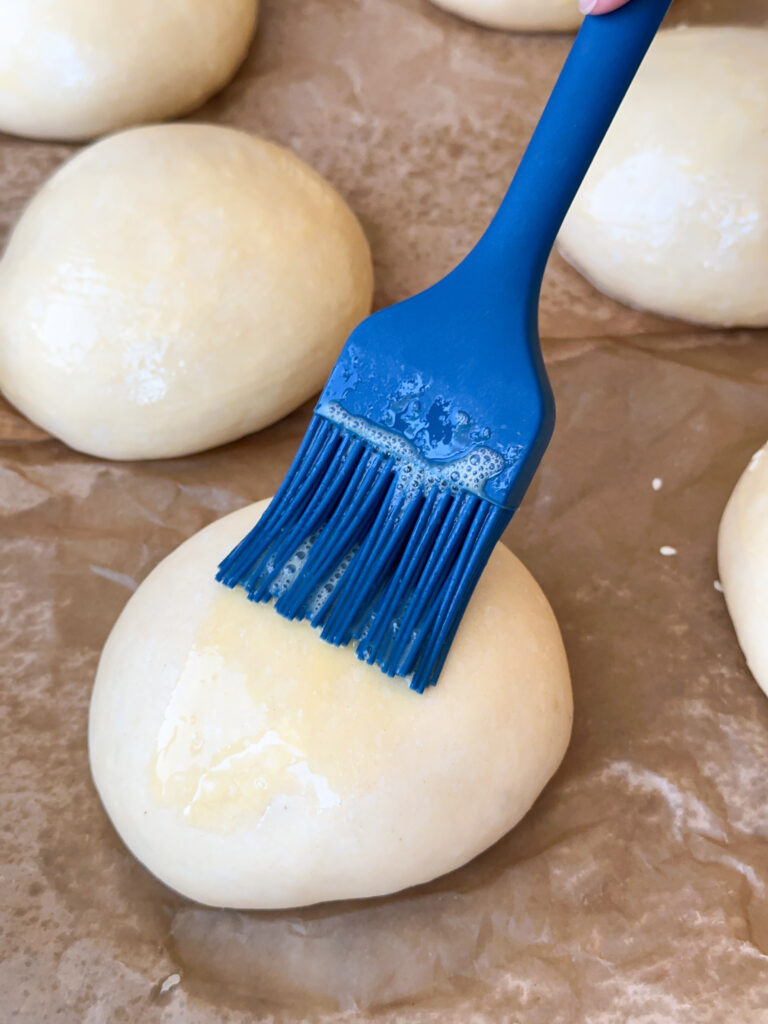
Brush the buns with egg wash using a pastry brush or a paper towel. If using the paper towel method, just dip in egg mixture and brush all over the buns. This avoids an eggy rim around the base of the buns.
If you use a pastry brush and have a lot of egg wash at the base, absorb some of the egg with a paper towel gently before baking to avoid an egg rim.
Sprinkle the buns with sesame seeds if desired, and transfer the buns to the hot preheated oven.
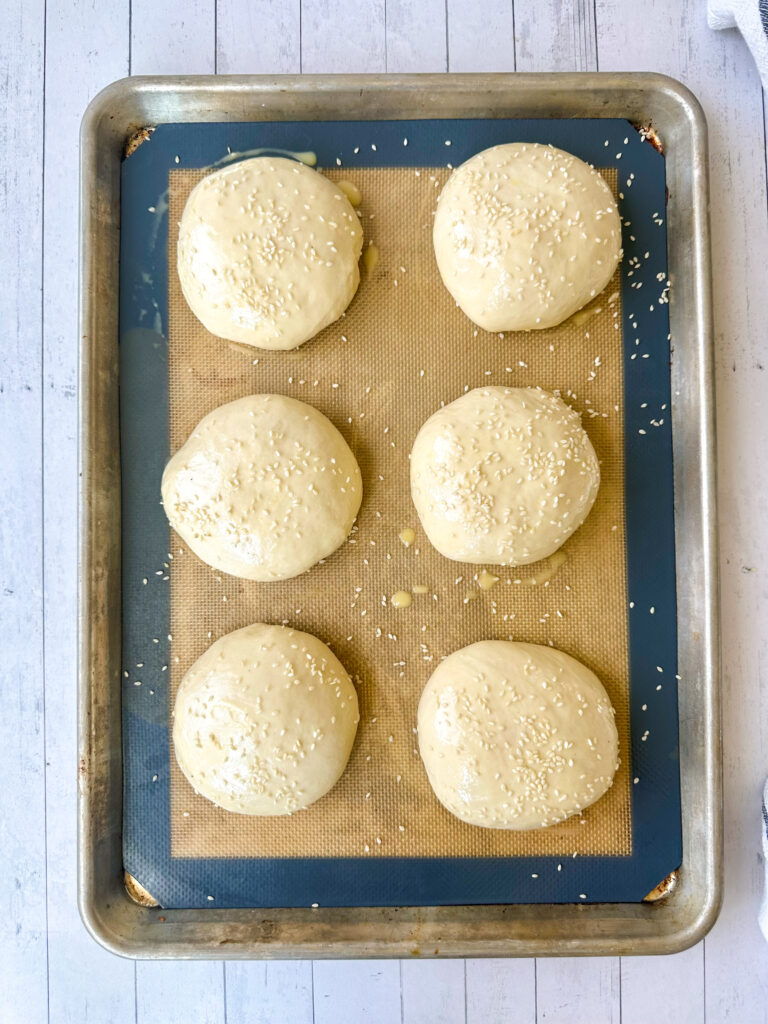
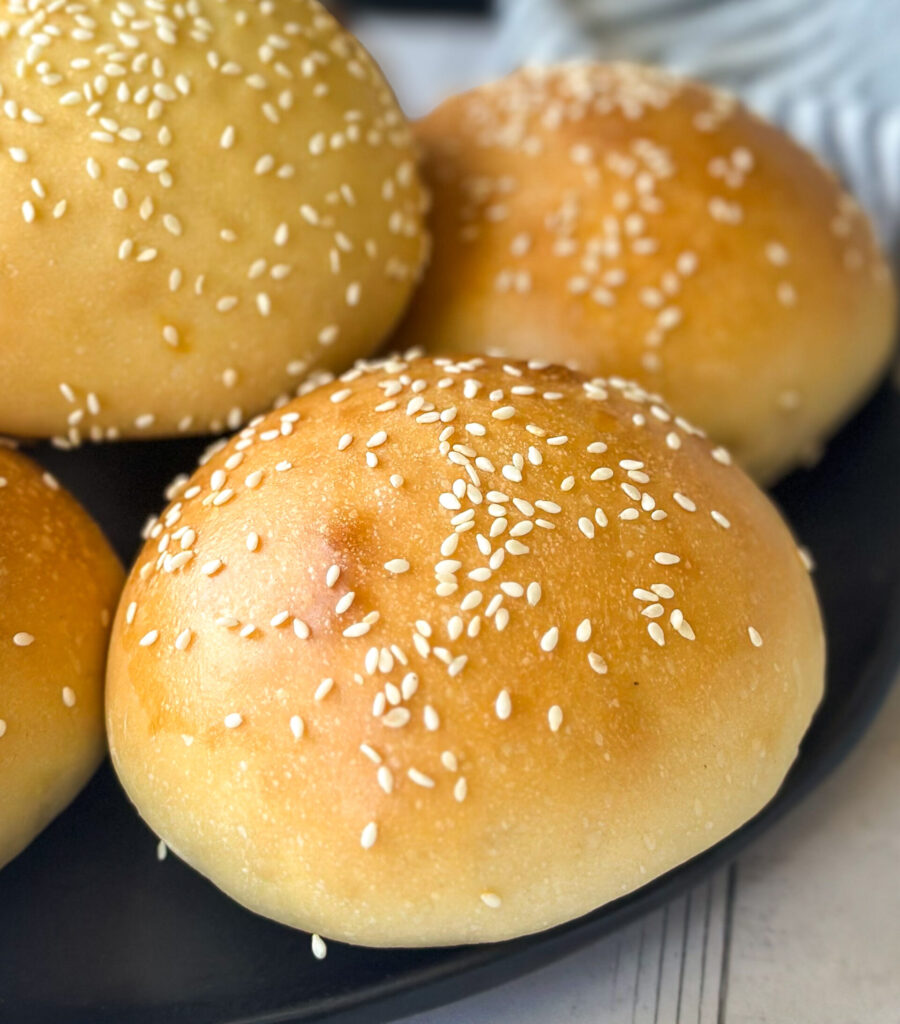
Bake the buns for 20 to 24 minutes, rotating halfway through. Internal temperature should reach 195–200°F. The tops should be deeply golden.
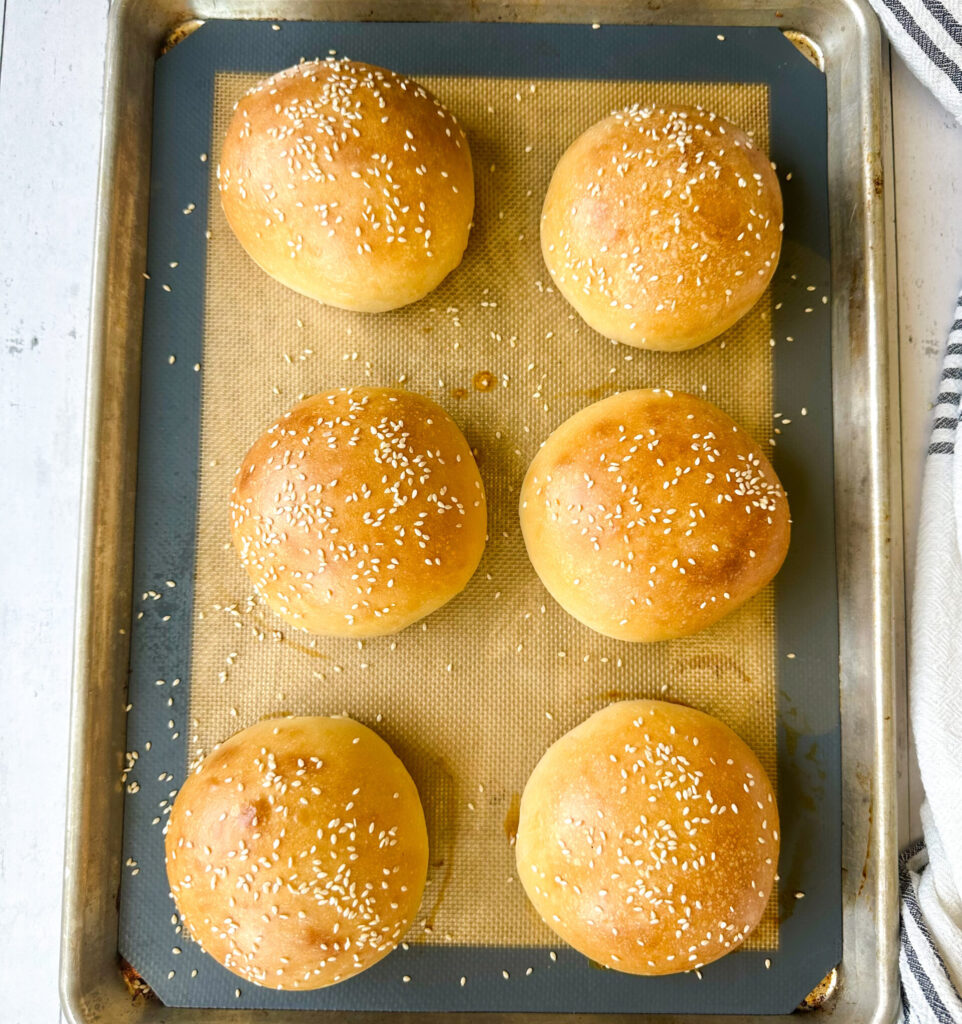
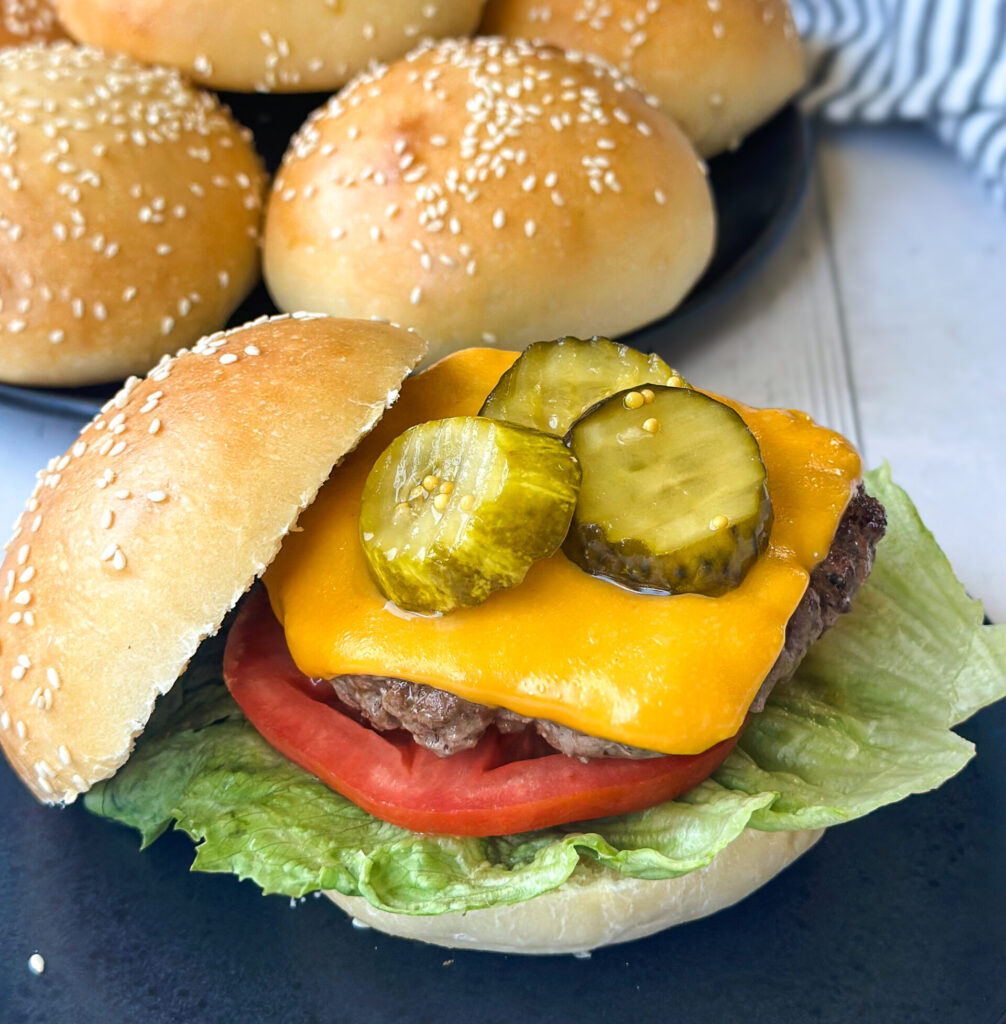
Cool the buns on a wire rack at least 20 minutes before slicing. They’re perfect for piling them high with hamburgers, pulled pork, or grilled chicken!
Yields 8 hamburger buns
How to Store
Room Temperature: Buns are best stored in airtight packaging at room temperature for 2-3 days.
Freezer: Freeze buns for up to 2 months in airtight container, gently thaw and reheat when ready to use.
FAQ’s
No, it’s optional! Cold proofing develops deeper flavor, improve digestibility, and can be more convenient, but the same-day method works perfectly too.
They may have over proofed. Proof until just doubled in size and puffy.
If you loved this recipe, drop a comment and leave a star review and don’t forget to checkout more of my sourdough recipes!
Sourdough Sandwich Breads:
- Sourdough Italian Herb and Cheese Bread (Subway Copycat)
- Sourdough Honey Oat Bread (Subway Copycat)
- Sourdough Discard Burger Buns
Sourdough Burger Buns (same day recipe)
Equipment
- Kitchen thermometer (optional)- – helpful for checking internal temperatures. This is my go-to kitchen thermometer.
- Large mixing bowl or stand mixer bowl – for mixing your dough.
- Stand mixer (optional) – for mixing dough.
- Digital kitchen scale (optional) – for accurate measuring, especially helpful with sourdough baking. I linked the one I like here.
- Measuring cups and spoons – for measuring ingredients.
- Whisk – to combine ingredients.
- Bench knife – to cut dough into desired sizes. I love this one linked here.
- Pastry brush – to brush buns with egg wash (you can also use a folded paper towel).
- Baking sheets – for baking the buns.
- Parchment paper – for lining the baking sheet.
Ingredients
Wet Ingredients:
- 3/4 (200g) cup active sourdough starter 100% hydration
- 1 (190g) cup whole milk warmed to 80 degrees
- 1/4 (70g) cup water slightly warmed
- 1/4 (50g) cup granulated white sugar
- 1 large egg room temperature
- 2 (28g) Tbsp avocado oil or neutral oil
- 3 (42g) Tbsp unsalted butter softened
Dry Ingredients:
- 4 1/4 (550g) cups all-purpose flour
- 1 1/2 (10g) tsp sea salt
Egg Wash:
- 1 egg
- 2 tsp water
Garnish (optional):
- 1 Tablespoon sesame seeds
Instructions
Step 1: Mix the Dough
- In a large bowl or the bowl of your stand mixer, add the sourdough starter, whole milk, warm water, sugar, egg, and oil. Whisk until everything is loosely combined, a few lumps are okay.3/4 (200g) cup active sourdough starter, 1 (190g) cup whole milk, 1/4 (70g) cup water, 1/4 (50g) cup granulated white sugar, 1 large egg, 2 (28g) Tbsp avocado oil
- After you combine the wet ingredients, add the bread flour and salt to the bowl.4 1/4 (550g) cups all-purpose flour, 1 1/2 (10g) tsp sea salt
- Mixing by hand: If you're mixing this dough by hand, mix and knead the dough together until it's a shaggy ball. This should take about 5 minutes.
- Add the butter by the Tablespoon and knead it slowly into the dough until incorporated. This should take another five minutes.3 (42g) Tbsp unsalted butter
- Mixing with a stand mixer: If you're using a stand mixer, knead the dough on the lowest setting for 5 minutes, scraping the bowl halfway through to make sure everything is incorporated.
- Add the butter by the Tablespoon into the dough with the mixer on low speed, until all of the butter is worked into the dough. This should take about another five minutes.
- Once the dough is mixed, grease a bowl or container large enough for the dough to double with cooking spray and transfer the dough to the container. Cover the dough with plastic or a lint-free towel, and allow the dough to rest 20 minutes.
- After 20 minutes, perform one set of stretch and folds to work the dough to strengthen the gluten.
- How to do a stretch and fold: Starting at the edge of the dough with lightly wet hands, gently lift one edge of the dough, stretch it up, and fold it over the center. Rotate the bowl or container 90 degrees and repeat with the next side. Do this for all four sides of the dough to form a ball.
Step 2: Bulk Fermentation
- Cover the dough and allow it to rest in a warm spot until it has reached a 90 percent rise.
- Note on Temperature: Your dough loves a warmer climate, so aim to keep your dough between 73-78 degrees (you can use your digital thermometer to check the temperature).
Step 3: Shape the Buns
- Turn the dough out onto a lightly floured or oiled surface. Divide into 8 equal portions (about 140-150g each).
- Shape each section of dough into a tight ball by cupping your hand and rolling it on the counter in a circular motion.
- Transfer the dough balls to a baking sheet lined with parchment or a silicone mat, spacing the buns evenly. I usually do 4-6 buns per baking sheet so they have plenty of space.
- Cover the trays of buns with a damp lint-free towel or oiled plastic wrap for the final rise.
Step 4: Bake the Buns
- Let the buns proof at room temp for about an hour, or until buns are noticeably puffy and almost doubled in size.
- Preheat the oven to 375°F (190°C).
- Beat 1 egg yolk with 2 teaspoons of water in a small bowl.1 egg, 2 tsp water
- Brush the buns with egg wash using a pastry brush or a paper towel. If using the paper towel method, just dip in egg mixture and brush all over the buns. This avoids an eggy rim around the base of the buns.
- If you use a pastry brush and have a lot of egg wash at the base, absorb some of the egg with a paper towel gently before baking to avoid an egg rim.1 Tablespoon sesame seeds
- Sprinkle the buns with sesame seeds if desired, and transfer the buns to the hot preheated oven.
- Bake the buns for 20 to 24 minutes, rotating halfway through. Internal temperature should reach 195–200°F. The tops should be deeply golden.
- Cool the buns on a wire rack at least 20 minutes before slicing. They’re perfect for piling them high with hamburgers, pulled pork, or grilled chicken!
- Yields 8 hamburger buns
I baked these today for my family. I knew it was a good recipe when the dough felt so soft when I was shaping.
I’m so glad you enjoyed these hamburger buns!
I made these for our Labor Day BBQ and they were perfection. So fluffy and the taste was incredible. They were gone quick! Another thing I loved is that Joselyn included the measurements with each recipe step, which made it easier for me to follow so that I didn’t have to keep scrolling from the ingredients list to the instructions!
Hi Christian! I’m so happy you found this easy to follow and that you had great results! Thank you for your comment!
I’ve tried a few different sourdough hamburger bun recipes and this one is the BEST! Soft pillowy buns that have a great taste.
Hi Kayla! I’m so happy these buns were such a hit. Thank you for the comment!