
Sourdough Texas Roadhouse Rolls
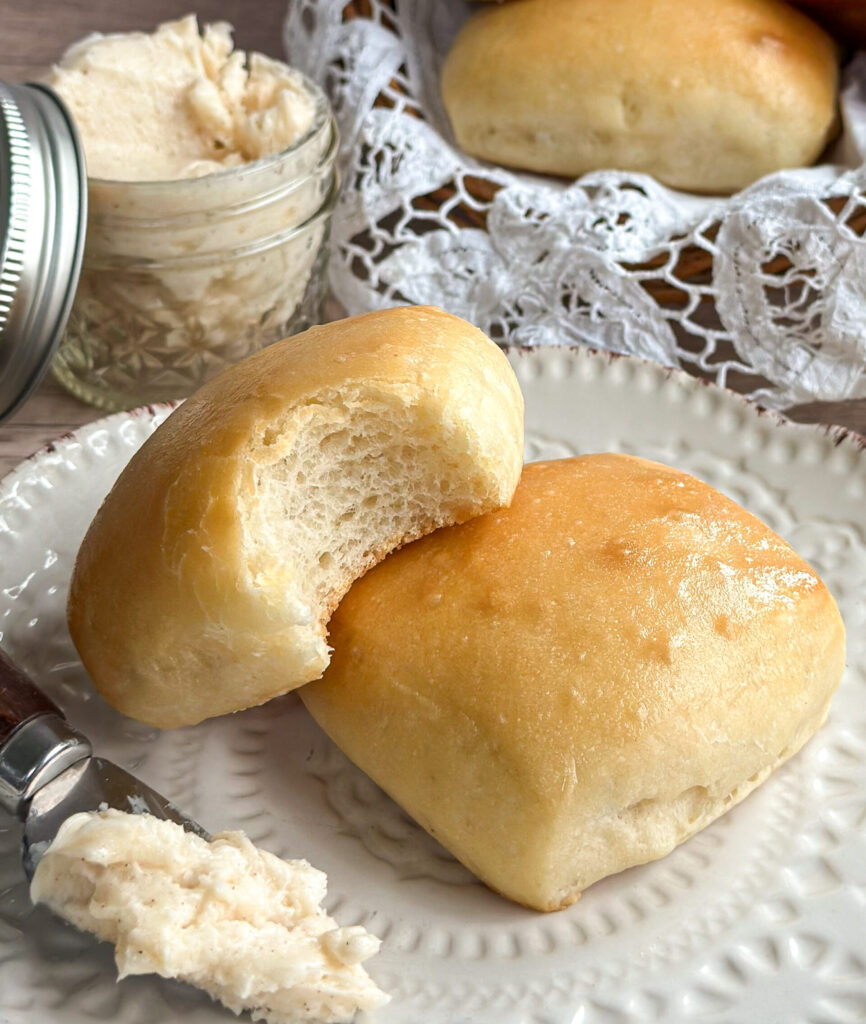
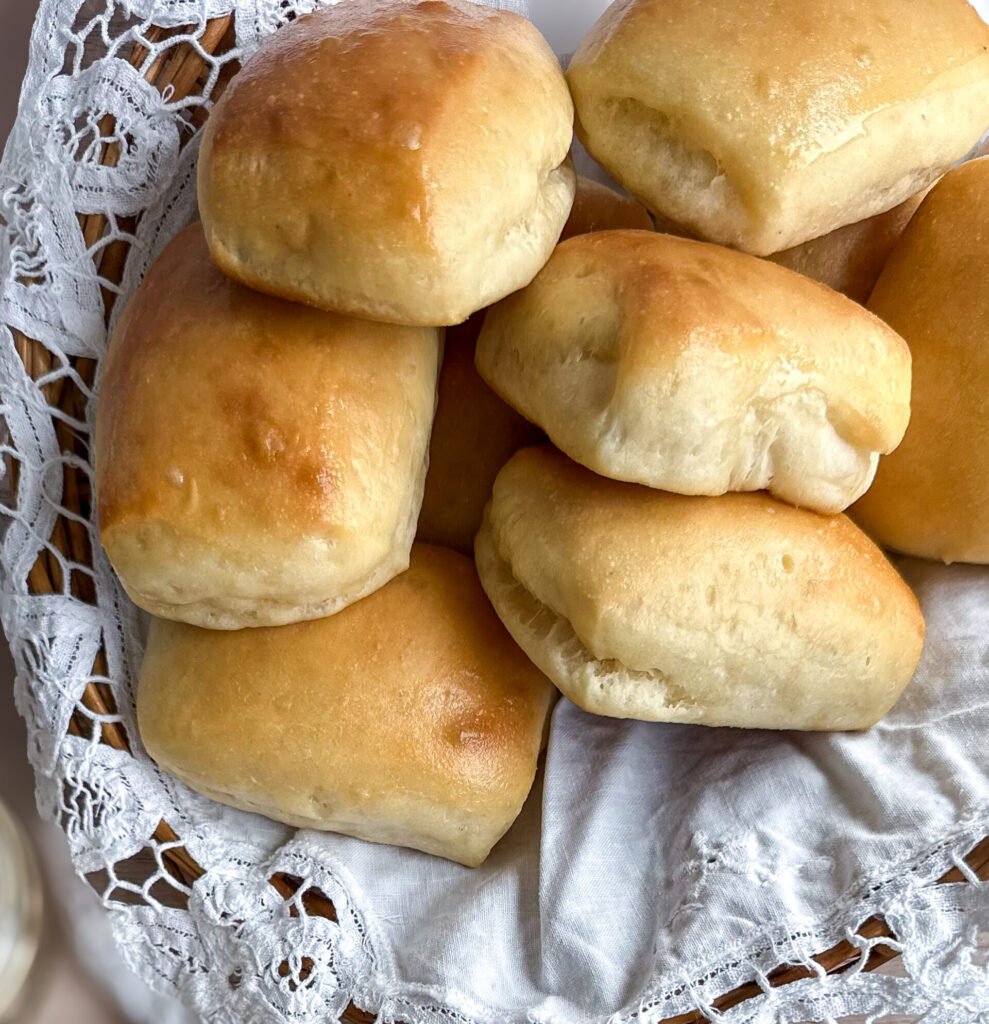
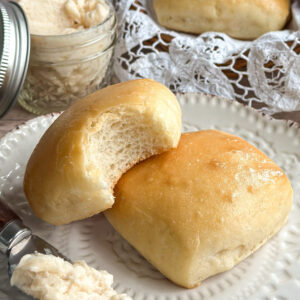
Let’s be honest, the rolls are the main reason we go to Texas Roadhouse. These Sourdough Texas Roadhouse Rolls are fluffy, lightly sweet, and have that irresistible melt in your mouth texture that keeps you reaching for another. Serve them warm with my homemade Honey Cinnamon Butter, and don’t be surprised if they disappear faster than dinner.
Why You’ll Love This Recipe
- That pillowy texture: These rolls are soft, fluffy, and impossible to stop at just one.
- Made with sourdough: All the flavor and benefits of naturally leavened dough.
- Flexible to your schedule: Make these rolls overnight or same day, the choice is yours depending on your needs.
- Easier than you think: This recipe is very approachable and easy to make even if you’re new to baking or just want a no fuss recipe.
- The honey cinnamon butter: Pair these rolls with my homemade honey cinnamon butter for the full Texas Roadhouse treatment.
Tools You’ll Need:
- Stand mixer with a dough hook (or strong hands)- to knead the dough.
- Straight-sided container or large bowl– for bulk fermentation. I love these straight edged Cambro 6 quart with a lid for proofing because it’s easy to see and assess rise.
- Digital kitchen scale– for accurate measuring as this recipe is in grams and cups, especially helpful with sourdough baking. This kitchen scale is great to start with.
- Digital food thermometer (optional)- to check the temperature of your dough, this ensures a more reliable result. I use this one linked here.
- Dough Spatula (optional)- to help release the dough and divide it. I love this silicone dough spatula for mixing linked here.
- Measuring cups & spoons– if not using a scale.
- Whisk– for mixing dough.
- Rolling pin– to roll out the dough.
- Sharp knife, bench knife, or pizza cutter– for cutting dough into squares.
- Half size baking sheets- for baking the rolls.
- Parchment paper- to line the baking sheets to avoid the rolls sticking to the pan.
- Pastry brush– for buttering the rolls.
Gather Your Ingredients:
- Sourdough Starter– used to feed your sweet levain; you can also substitute for regular fed starter but the rolls may be more sour.
- Water- used to feed the sweet levain.
- Unsalted butter– butter is added to the dough for softness and a pillowy crumb. You’ll also use this to brush the rolls for a soft texture.
- All-purpose flour– I recommend AP flour over bread flour to create a more tender crumb, but you can substitute for bread flour if needed.
- Granulated white sugar- used to feed the sweet levain that curbs the sourness of the dough and used to sweeten the dough.
- Honey- adds sweetness and supports the golden finish of the rolls.
- Whole milk– milk enriches this dough making it soft and tender.
- Egg– adds tenderness and structure to the dough working as a binder.
- Sea salt– balances sweet and sour flavors.
Instructions
Step 1: Make the Sweet Levain (Night Before)
To start your dough, you’ll want to mix a sweet levain the night before. If this sounds intimidating, it’s not! It’s literally just adding sugar to your starter. This curbs the tang of the sourdough.
In a clean jar, mix your mother starter with the flour, water, and sugar. Give it a good stir, and allow it to rest at room temperature (optimally 73-75 degrees F). I like to mark the volume in my jar with a rubber band so it’s easy to asses the rise the next morning. When the sweet levain has doubled in size, it’s time to mix your dough.
Step 2: Mix and Knead the Dough
In a large bowl big enough for the dough to double or the bowl of your stand mixer, add the sweet levain, milk, honey, sugar, egg, and salt. Whisk everything together until the mixture is well combined.
Add the bread flour and salt to the wet ingredients.
Stand Mixer Method: Mix the dough on low speed or Speed 1 for 3-5 minutes until combined. With the mixer running on low, gradually add the softened butter, one Tablespoon at a time, allowing it to fully incorporate before adding more.
This step should take about 5-8 minutes. The dough will be soft and slightly sticky, this is normal for a high-hydration dough. Cover the dough.
Allow the dough to rest for 30 minutes, then perform one set of stretch and folds to work the gluten before bulk fermentation.
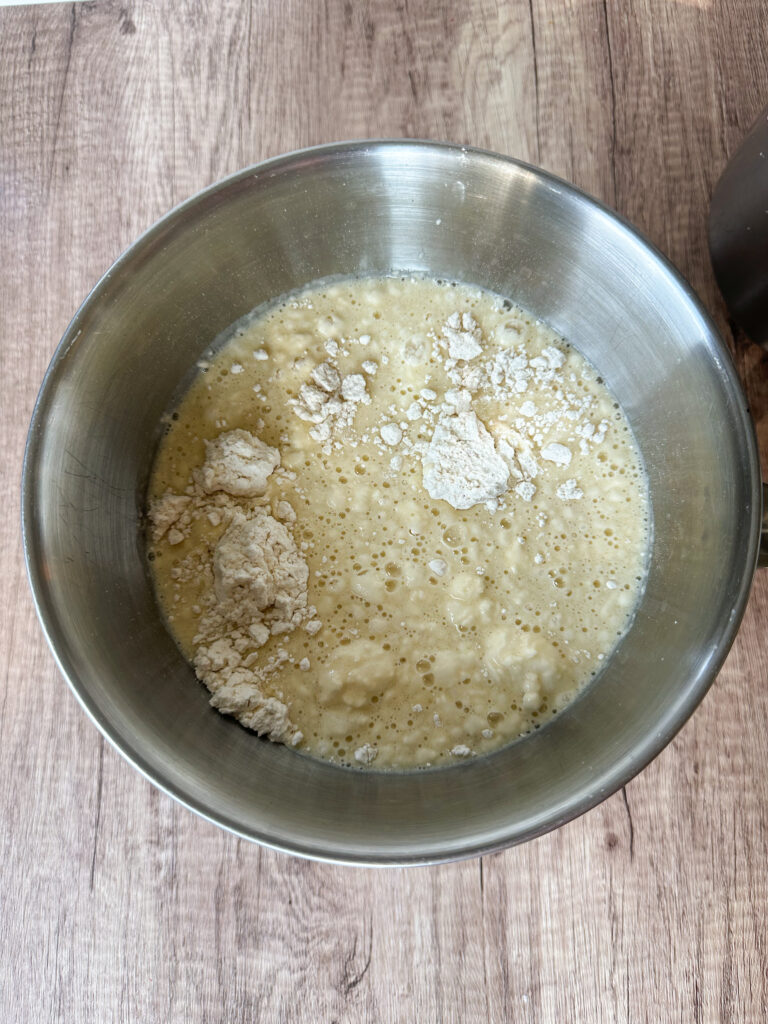
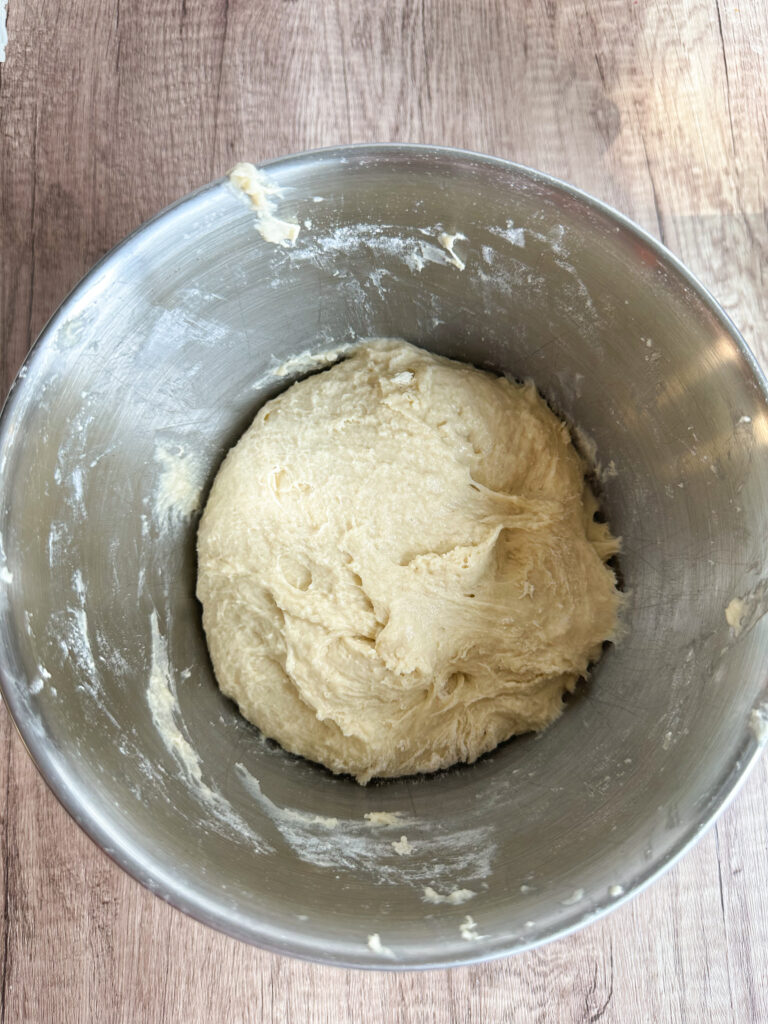
Hand Mixing Method: Mix your dough together until a shaggy dough forms. Add the softened butter in small pieces, kneading it in by hand until the butter is fully worked into the dough.
Allow the dough to rest for 30 minutes, then perform three sets of stretch and folds in 30 minute intervals to work the gluten before bulk fermentation.
How to do a stretch and fold: Starting at the edge of the dough with lightly wet hands, gently lift one edge of the dough, stretch it up, and fold it over the center. Rotate the bowl or container 90 degrees and repeat with the next side. Do this for all four sides of the dough to form a ball.
Step 3: Bulk Fermentation
Cover the bowl of dough with plastic wrap and let it proof in a warm place (around 75°F) until doubled in size, about 6-8 hours. Dough temperature should be between 74-77 degrees F to achieve doubling (rising 100%) in volume within 6-8 hours.
You can use a digital thermometer to probe the dough and check the temperature if you’re not sure.
Proofing Tip: The oven with the light on creates a great warm environment for proofing!
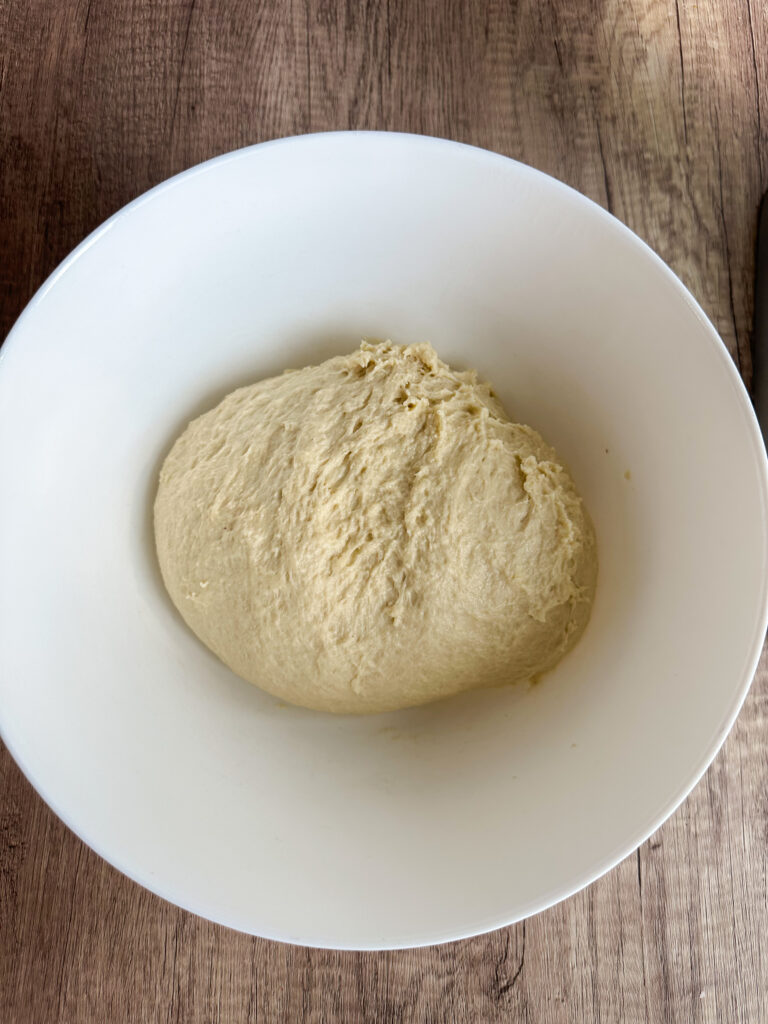
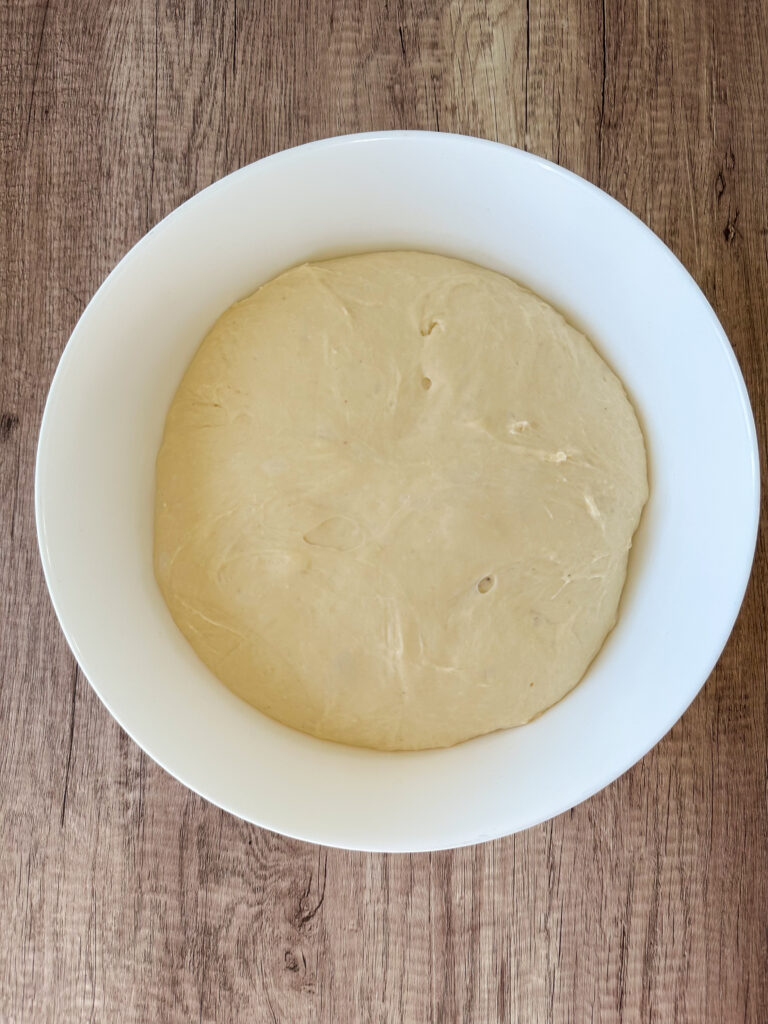
Overnight Fermentation Option: Once the dough has completed rising and is doubled, you can either transfer the dough to the refrigerator overnight.
If you want to make these rolls same day, skip the overnight fermentation step and go straight to shaping the rolls.
Step 4: Shaping and Proofing the Rolls
If you refrigerated the dough overnight, allow it to rest at room temperature for 30 minutes to take the chill off. If you didn’t chill the dough, skip this step.
Once the dough has proofed, gently deflate it and turn it out onto a lightly floured surface.
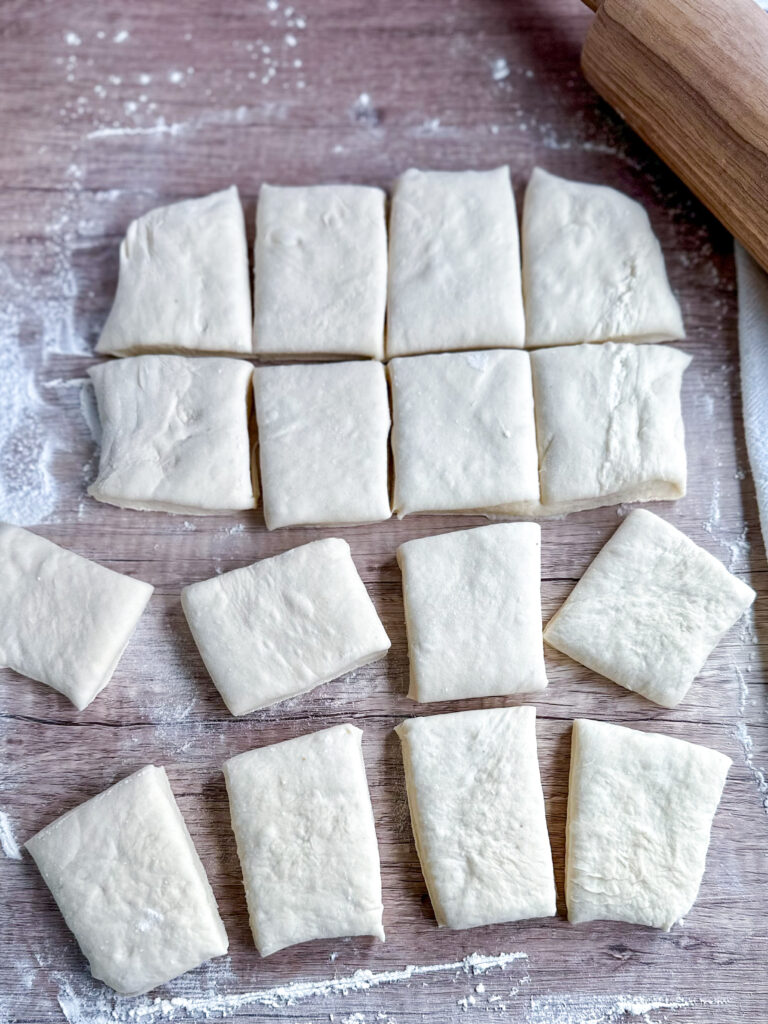
Roll the dough into a 20×15-inch rectangle, about ½ inch thick. Using a sharp knife or bench scraper, cut the rectangle into 4 squares. If necessary, trim the edges to make uniform edges. Divide each square into 4 smaller squares to form 16 square rolls.
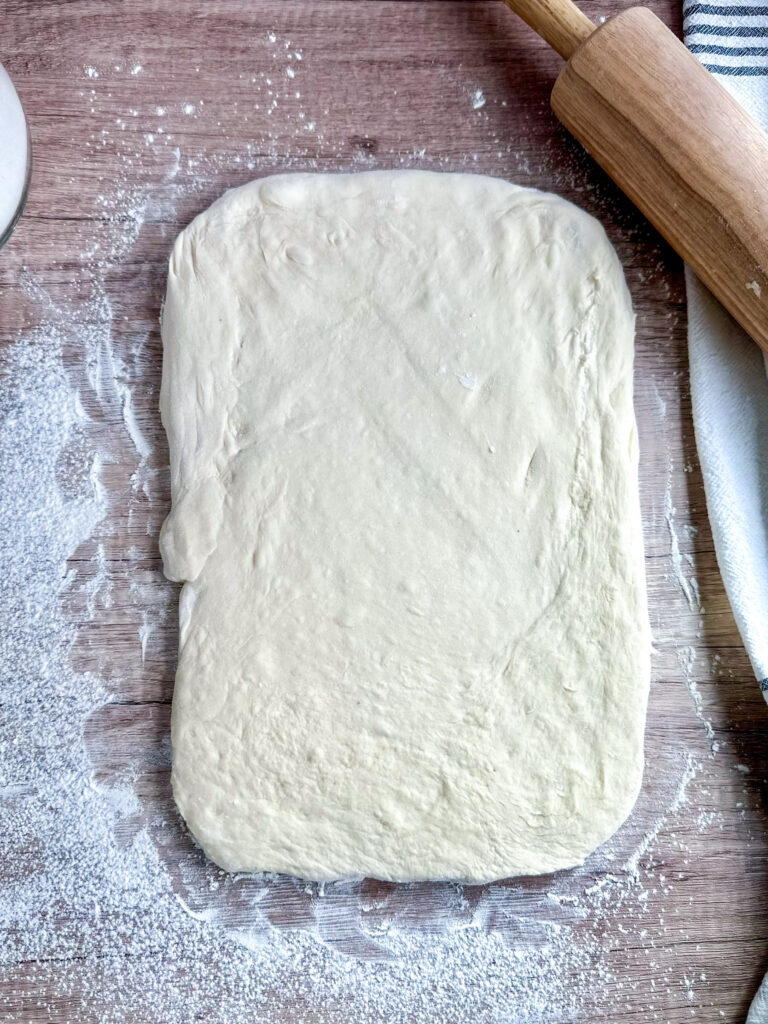
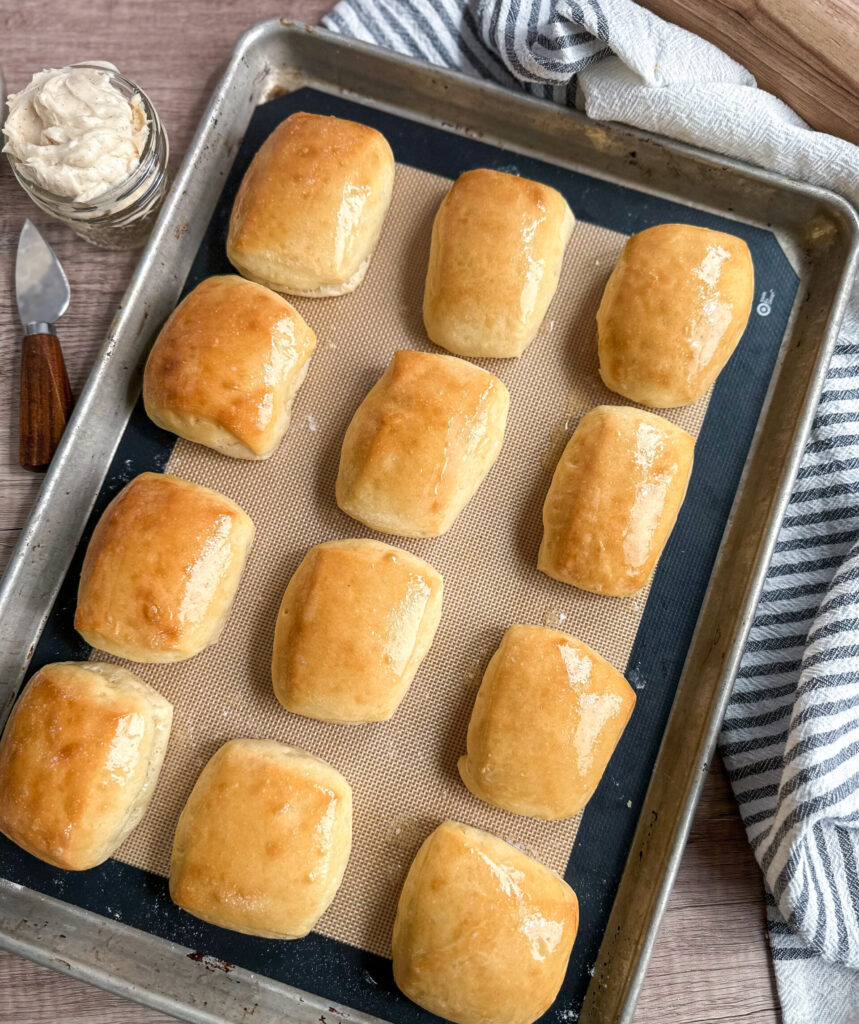
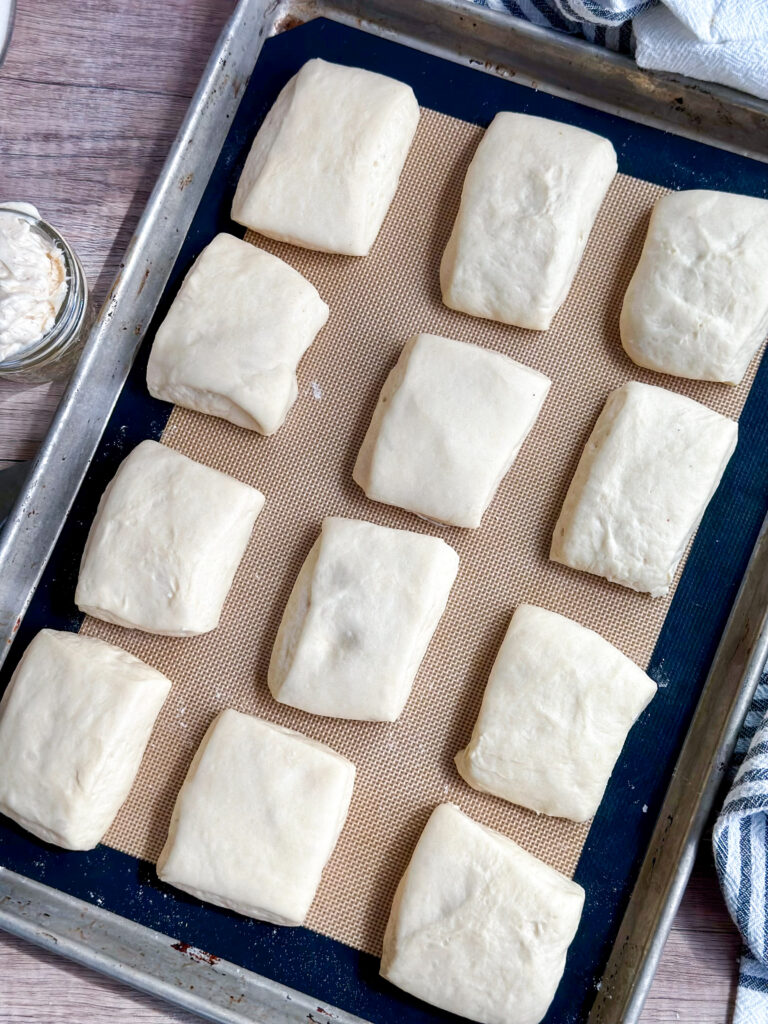
Line two baking sheets with parchment paper and place the dough squares on them in four rows of three, leaving space between each roll.
Cover the rolls loosely with a lint-free towel or plastic wrap and allow them to proof for 1-2 hours in a warm spot, or until they have doubled in size. Don’t worry if they look flat at first! once proofed they’ll puff up beautifully!
Step 5: Bake the Rolls
Preheat your oven to 375°F (190°C). Once the rolls are fully proofed, transfer to the hot oven.
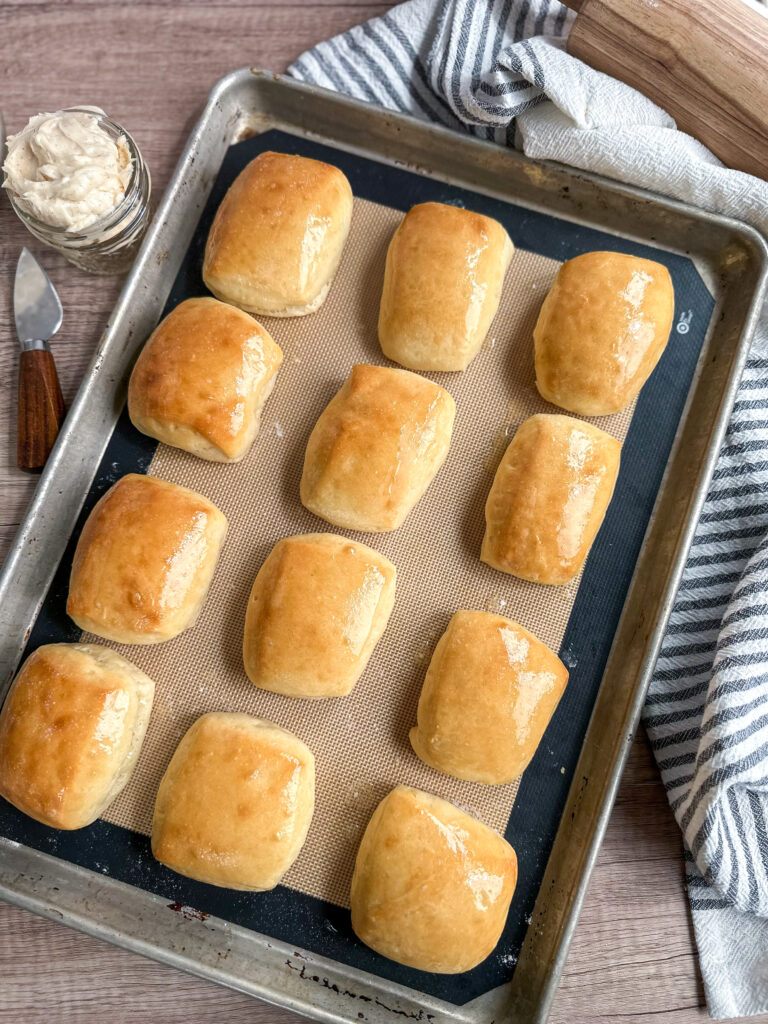
Bake the rolls for 25-30 minutes, or until golden brown on top.
While the rolls are baking, melt the salted butter in a small bowl. As soon as the rolls come out of the oven, brush the tops generously with melted butter.
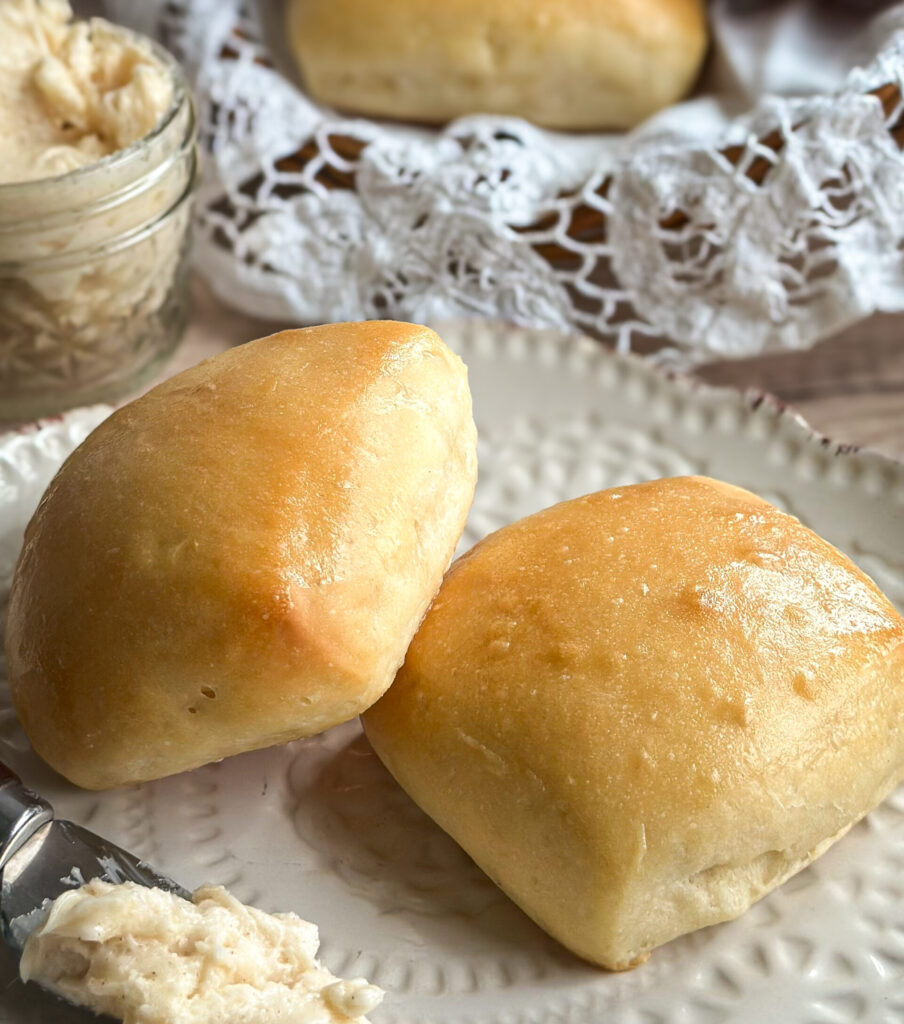
Allow the rolls to cool for about 15 minutes, then serve warm with my Honey Cinnamon Butter.
How to Store:
Room Temperature: Store leftover rolls in an airtight container at room temperature for up to 3 days.
Freezer: For longer storage, freeze in a freezer-safe bag for up to 3 months. Thaw and warm before serving.
FAQ’S
Yes. After the dough proofs, cover and refrigerate overnight. Shape, proof, and bake the next day.
Yes, but the sweet starter helps create the signature soft texture and lightly sweet flavor that makes these rolls taste more like Texas Roadhouse.
If you loved this recipe, drop a comment and leave a star review and don’t forget to checkout more of my sourdough copycat recipes!
Sourdough Copycat Recipes:
- Sourdough Rosemary Peasant Bread (Macaroni Grill Dupe)
- Sourdough Cheesecake Factory Brown Bread
- Sourdough Cheddar Bay Biscuits (Red Lobster Dupe)
Sourdough Texas Roadhouse Rolls
Equipment
- Stand mixer with a dough hook (or strong hands) – to knead the dough.
- Straight-sided container or large bowl – for bulk fermentation. I love these straight edged Cambro 6 quart with a lid for proofing because it's easy to see and assess rise.
- digital kitchen scale – for accurate measuring as this recipe is in grams and cups, especially helpful with sourdough baking. This kitchen scale is great to start with.
- Digital food thermometer (optional) – to check the temperature of your dough, this ensures a more reliable result. I use this one linked here.
- Dough Spatula (optional) – to help release the dough and divide it. I love this silicone dough spatula for mixing linked here.
- Measuring cups & spoons – if not using a scale.
- Whisk – for mixing dough.
- Rolling Pin – to roll out the dough.
- Sharp knife, bench knife, or pizza cutter – for cutting dough into squares.
- half size baking sheets – for baking the rolls.
- Parchment paper – to line the baking sheets to avoid the rolls sticking to the pan.
- Pastry brush – for buttering the rolls.
Ingredients
Sweet Starter:
- 2 (25g) Tbsp mature sourdough starter
- 1 (15g) Tbsp granulated white sugar
- 3/4 (100g) cup all-purpose flour
- 1/2 (100g) cup water room temperature
Dough:
- 1 (200g) cup active sweet starter
- 1/4 (57g) cup salted butter softened
- 1 egg
- 1 1/2 (350g) cups whole milk
- 1 (25g) Tbsp honey
- 3 (40g) Tbsp granulated white sugar
- 1 1/2 (12g) tsp fine sea salt
- 4 (475g) cups bread flour or all purpose
For Brushing:
- 2 (30g) Tbsp salted butter melted
Instructions
Step 1: Make the Sweet Levain (Night Before)
- To start your dough, you’ll want to mix a sweet levain the night before. If this sounds intimidating, it’s not! It’s literally just adding sugar to your starter. This curbs the tang of the sourdough.
- In a clean jar, mix your mother starter with the flour, water, and sugar. Give it a good stir, and allow it to rest at room temperature (optimally 73-75 degrees F). I like to mark the volume in my jar with a rubber band so it’s easy to asses the rise the next morning. When the sweet levain has doubled in size, it’s time to mix your dough.2 (25g) Tbsp mature sourdough starter, 3/4 (100g) cup all-purpose flour, 1/2 (100g) cup water, 1 (15g) Tbsp granulated white sugar
Step 2: Mix and Knead the Dough
- In a large bowl big enough for the dough to double or the bowl of your stand mixer, add the sweet levain, milk, honey, sugar, egg, and salt. Whisk everything together until the mixture is well combined.1 (200g) cup active sweet starter, 1 egg, 1 1/2 (350g) cups whole milk, 1 (25g) Tbsp honey, 3 (40g) Tbsp granulated white sugar
- Add the bread flour and salt to the wet ingredients.1 1/2 (12g) tsp fine sea salt, 4 (475g) cups bread flour
- Stand Mixer Method: Mix the dough on low speed or Speed 1 for 3-5 minutes until combined. With the mixer running on low, gradually add the softened butter, one Tablespoon at a time, allowing it to fully incorporate before adding more.1/4 (57g) cup salted butter
- This step should take about 5-8 minutes. The dough will be soft and slightly sticky, this is normal for a high-hydration dough. Cover the dough.
- Allow the dough to rest for 30 minutes, then perform one set of stretch and folds to work the gluten before bulk fermentation.
- Hand Mixing Method: Mix your dough together until a shaggy dough forms. Add the softened butter in small pieces, kneading it in by hand until the butter is fully worked into the dough.
- Allow the dough to rest for 30 minutes, then perform three sets of stretch and folds in 30 minute intervals to work the gluten before bulk fermentation.
- How to do a stretch and fold: Starting at the edge of the dough with lightly wet hands, gently lift one edge of the dough, stretch it up, and fold it over the center. Rotate the bowl or container 90 degrees and repeat with the next side. Do this for all four sides of the dough to form a ball.
Step 3: Bulk Fermentation
- Cover the bowl of dough with plastic wrap and let it proof in a warm place (around 75°F) until doubled in size, about 6-8 hours. Dough temperature should be between 74-77 degrees F to achieve doubling (rising 100%) in volume within 6-8 hours.
- You can use a digital thermometer to probe the dough and check the temperature if you’re not sure.
- Proofing Tip: The oven with the light on creates a great warm environment for proofing!
- Overnight Fermentation Option: Once the dough has completed rising and is doubled, you can either transfer the dough to the refrigerator overnight.
- If you want to make these rolls same day, skip the overnight fermentation step and go straight to shaping the rolls.
Step 4: Shaping and Proofing the Rolls
- If you refrigerated the dough overnight, allow it to rest at room temperature for 30 minutes to take the chill off. If you didn’t chill the dough, skip this step.
- Once the dough has proofed, gently deflate it and turn it out onto a lightly floured surface.
- Roll the dough into a 20×15-inch rectangle, about ½ inch thick. Using a sharp knife or bench scraper, cut the rectangle into 4 squares. If necessary, trim the edges to make uniform edges. Divide each square into 4 smaller squares to form 16 square rolls.
- Line two baking sheets with parchment paper and place the dough squares on them in four rows of three, leaving space between each roll.
- Cover the rolls loosely with a lint-free towel or plastic wrap and allow them to proof for 1-2 hours in a warm spot, or until they have doubled in size. Don’t worry if they look flat at first! once proofed they’ll puff up beautifully!
Step 5: Bake the Rolls
- Preheat your oven to 375°F (190°C). Once the rolls are fully proofed, transfer to the hot oven.
- Bake the rolls for 25-30 minutes, or until golden brown on top.
- While the rolls are baking, melt the salted butter in a small bowl. As soon as the rolls come out of the oven, brush the tops generously with melted butter.2 (30g) Tbsp salted butter
- Allow the rolls to cool for about 15 minutes, then serve warm with my Honey Cinnamon Butter.
these are literally just like Texas road house. But better bc sourdough. So soft and fluffy!!
Thank you for your comment and I’m thrilled these are just like Roadhouse- but better!
Love these rolls. Easy to come together and perfectly delicious Everytime.
Wow!! These are phenomenal. So light and fluffy like a cloud. Everyone could not believe they were sourdough. I shaped them in a round balls and baked side by side in a 9×13 pan like I do dinner rolls. I dont think I will ever use another recipe. Thank you for sharing.
This is truly the best to hear this was a success and you’ve found the recipe you want to come back to! Thank you!
It’s like Texas road house but so much better. A great bake and so fluffy!!