
Sourdough Sandwich Bread (Egg Free)
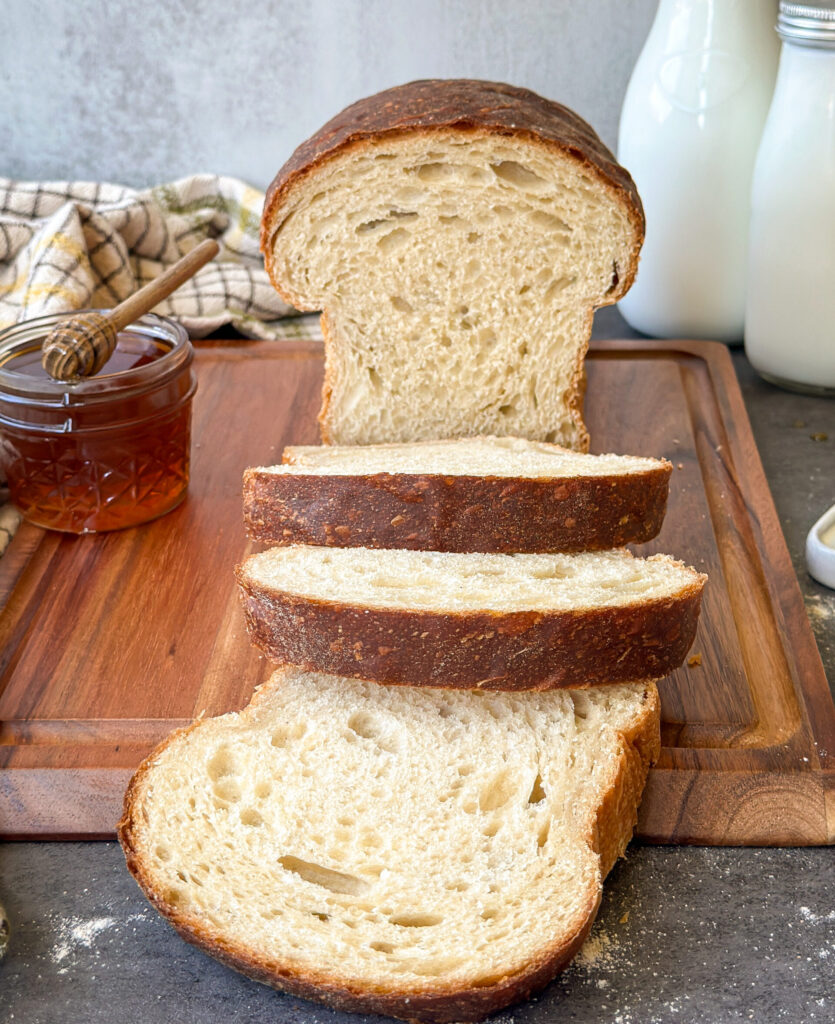
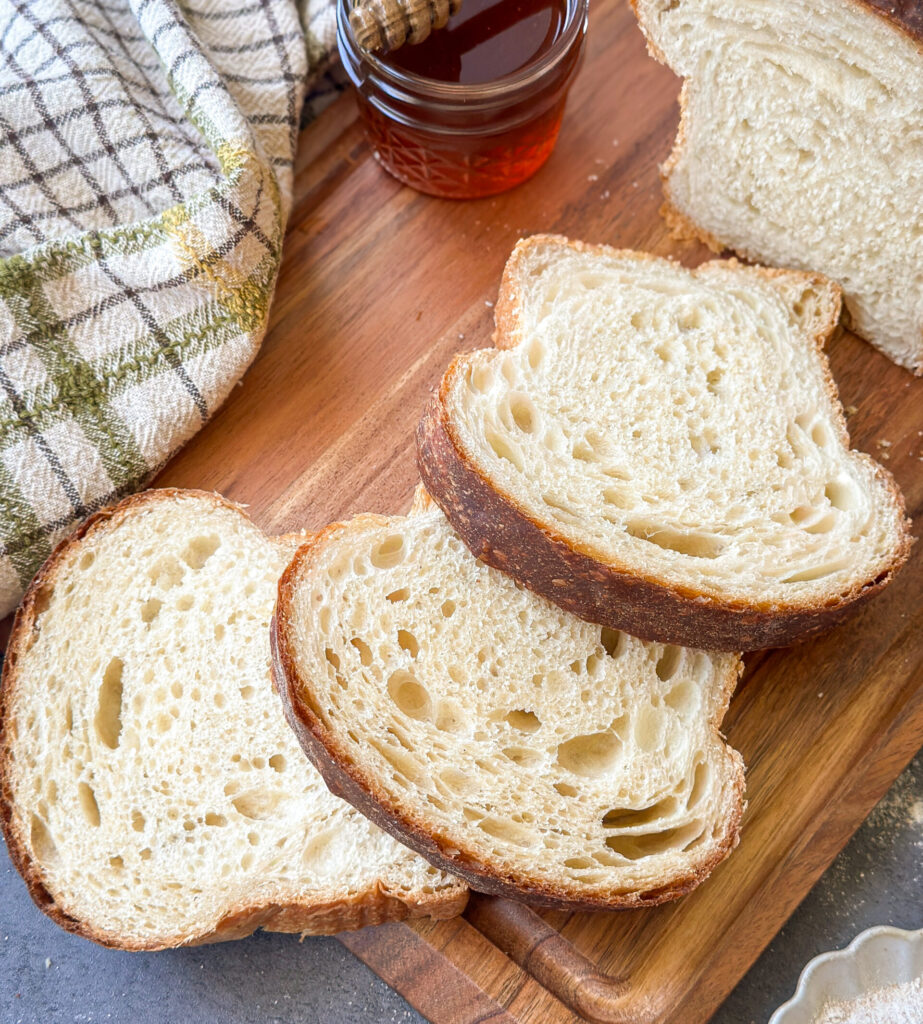
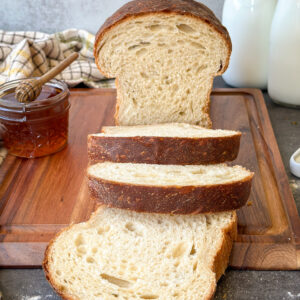
If you’ve been searching for a soft, everyday sourdough sandwich loaf that doesn’t require eggs, this is it. This Sourdough Sandwich Bread (Egg Free) is made with simple pantry staples and bakes up light, fluffy, and tender without eggs added. It’s the perfect loaf for sandwiches, toast, grilled cheese, and French toast, making it a staple recipe you’ll bake again and again.
Why You’ll Love This Recipe
- Soft, fluffy sandwich crumb: This bread bakes up light, tender, and perfect for everyday use.
- Completely egg free: Made without eggs, but you would never know it from the soft. fluffy texture.
- Easy to make: Simple instructions and steps make this recipe easy to master.
- Made with simple pantry staples: This recipe uses simple ingredients you will have on hand.
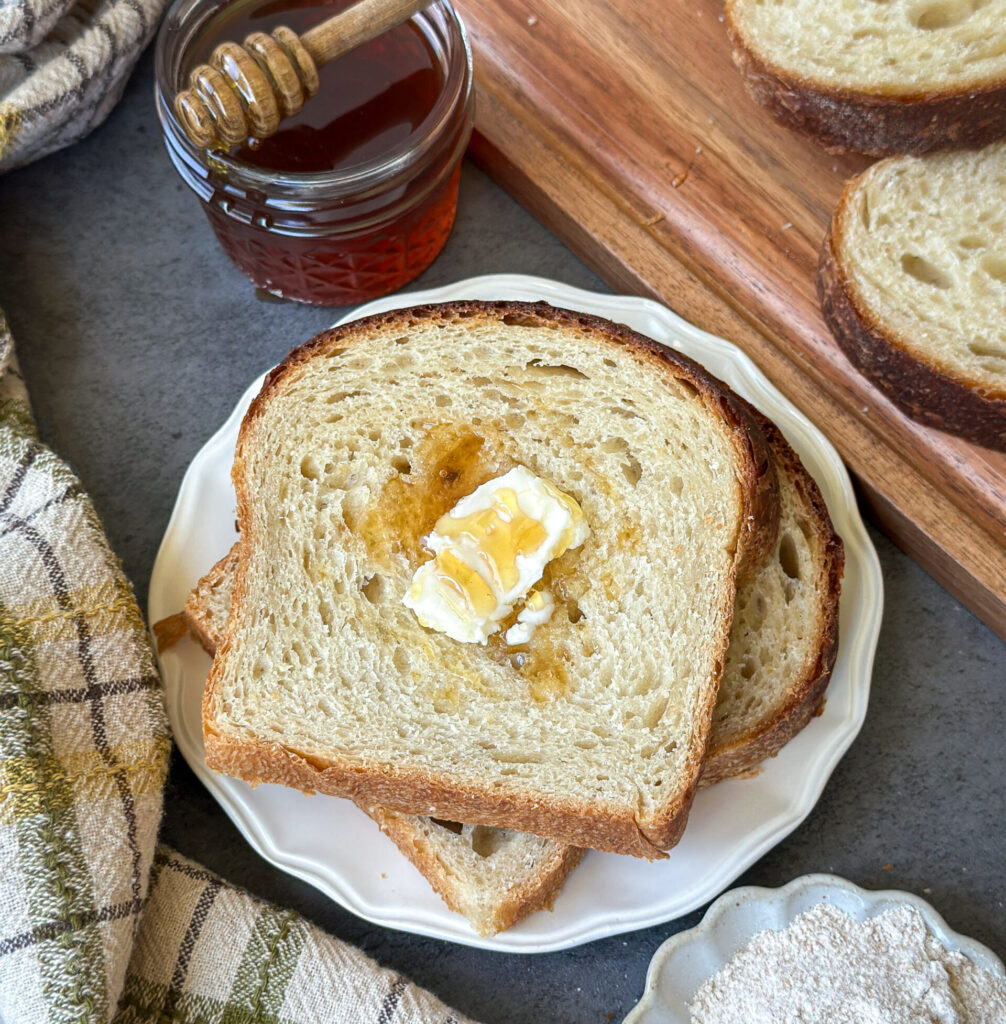
- Perfect for sandwiches, toast, and French toast: Soft enough to enjoy on it’s own, yet sturdy enough for all your favorites.
Tools You’ll Need:
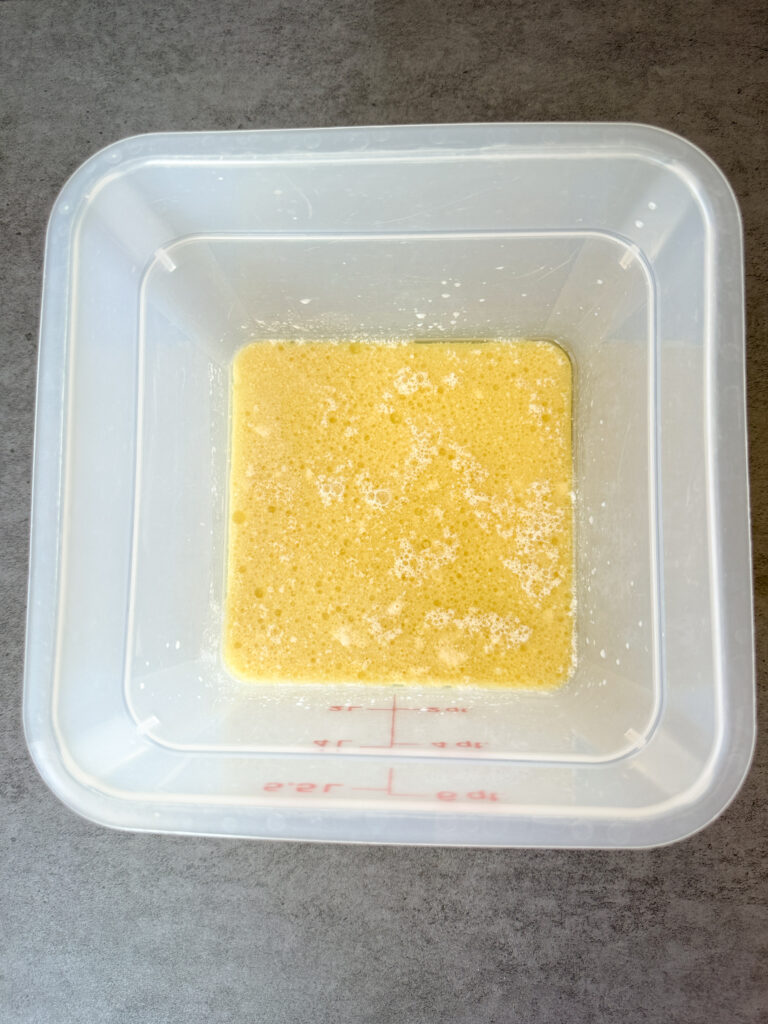
- Large bowl or straight edge container- You can use a bowl if you’d like, but I prefer to use a large square Tupperware with a straight edge so I can assess the rise of my dough easily. I use this Cambro 6 quart with a lid for up to 2 loaves at a time.
- Digital kitchen scale– for accurate measuring as this recipe is in grams and cups, especially helpful with sourdough baking. This kitchen scale is great to start with.
- Digital food thermometer (optional)- to check the temperature of your dough and bread, this ensures a more reliable result. I use this one linked here.
- Dough Spatula (optional)- to help release the dough. I love this silicone dough spatula for mixing linked here.
- Loaf Pan- I always use these 1 lb sandwich loaf pans from USA Baking, they’re reliable, don’t stick, and give a golden finish to your bread.
- Cooling rack- to allow bread to cool.
- Bread Knife- a quality bread knife is essential to even slices for your bread.
Gather Your Ingredients:
- Sourdough Starter– You’ll need a mature sourdough starter to feed your sweet levain, or you can use starter that has been fed and is doubled. If you don’t use a sweet levain, the bread may be more sour.
- All-purpose flour– I recommend AP flour over bread flour to create a more tender crumb, but you can substitute for bread flour if needed.
- Water- adds moisture to the bread.
- Whole milk- adds richness and keeps the bread softer for longer.
- Honey- this adds sweetness and makes the crumb extra soft.
- Avocado Oil- keeps the bread light and soft. You can substitute this for any neutral cooking oil.
- Sea Salt- strengthens the gluten and balances the sweetness of the bread.
- Salted Butter (optional)- to brush on top of the baked loaf to keep the crust soft. You can skip this if you’d like or just mist with water as well.
Instructions
Step 1: Feed the Sweet Levain the Night Before
In a clean jar, mix your mother starter with the flour, sugar, and water. Give it a good stir, and allow it to rest at room temperature (optimally 73-75 degrees F). I like to mark the volume in my jar with a rubber band so it’s easy to asses the rise the next morning. When the starter/sweet levain has doubled in size, it’s time to mix your dough.
Step 2: Mix the Dough
In a mixing bowl, add the active sweet levain, warm water, whole milk, honey, and avocado oil and whisk until generally combined.
Once the wet ingredients are combined add the all-purpose or bread flour and salt to the bowl.
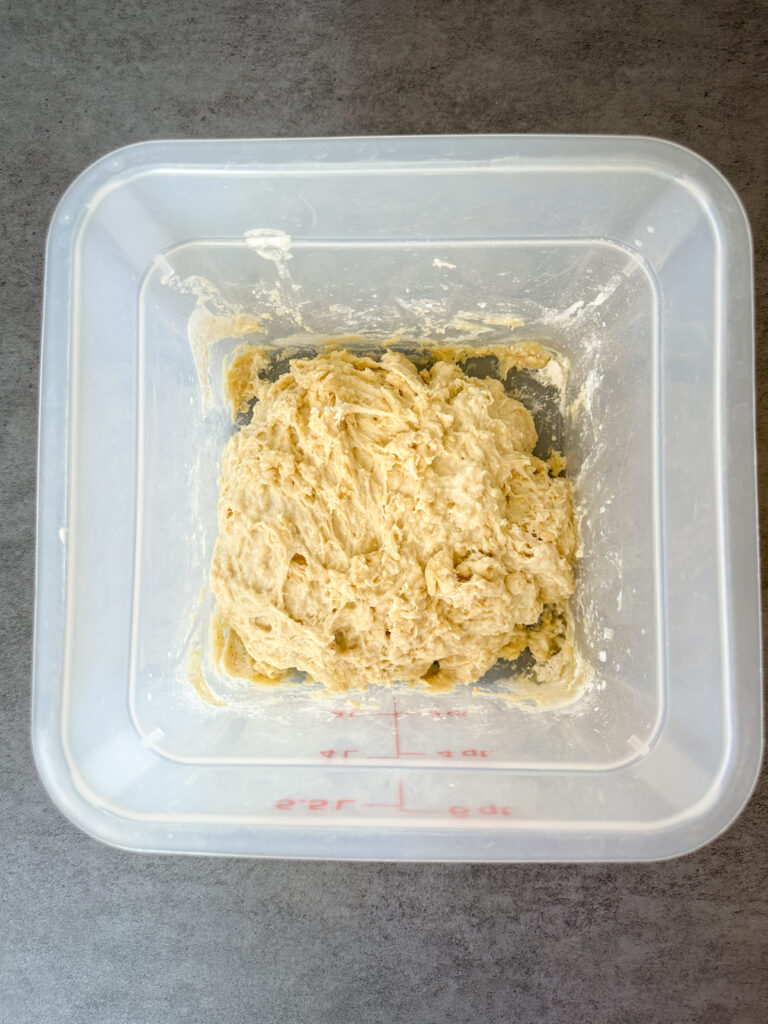
With your hand or a dough spatula, combine the dough until it’s well mixed and forms a smooth ball. Cover the bowl/container with a lid or a damp towel, and allow it to rest 30 minutes in a warm place (75-78 degrees).
Step 3: Bulk Fermentation
Once the dough has rested for 30 minutes, it’s time to perform the first set of stretch and folds.
How to perform a stretch and fold: Beginning at the edge of the bowl, lift the dough up without tearing it, and fold it back into the center. Repeat this step around the edge of the bowl until the dough forms a ball. This is one set of stretch and folds. Cover the dough again and return it to a warm environment to rest 30 minutes.
Repeat this step of stretch and folds a total of 3 times. You should see the dough go from shaggy to smooth.
Once these stretch and folds are finished, cover the dough again and allow it to rest in a warm spot for roughly 6-8 hours and doubled in size. The key is to make sure this dough has doubled before you continue.
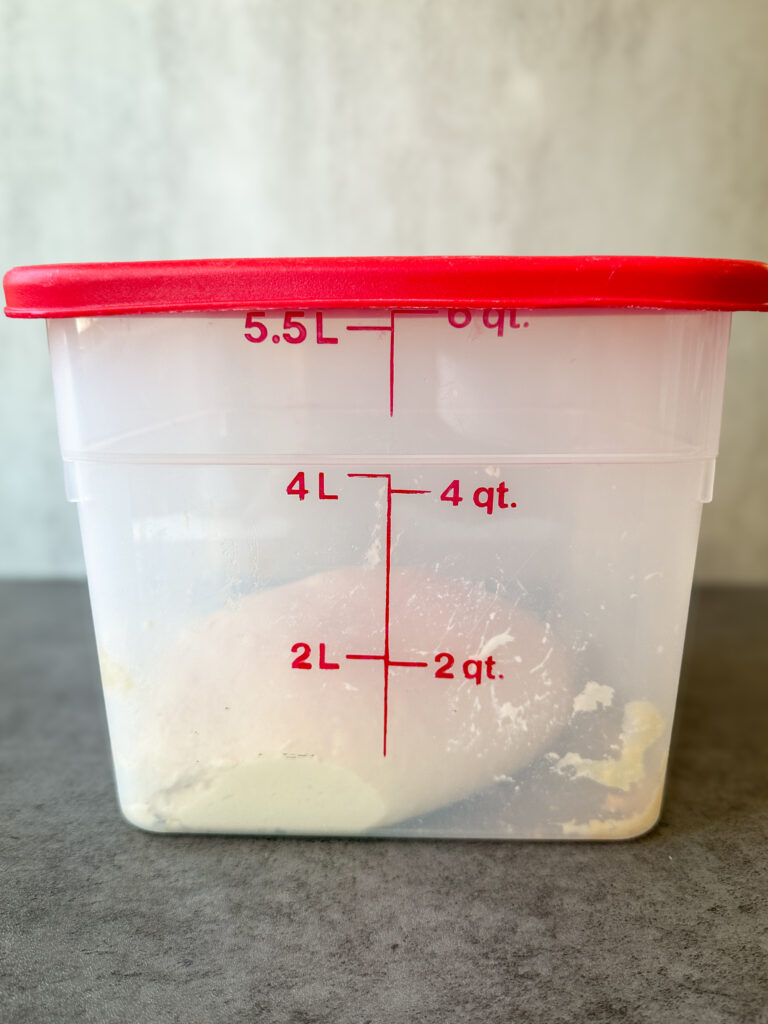
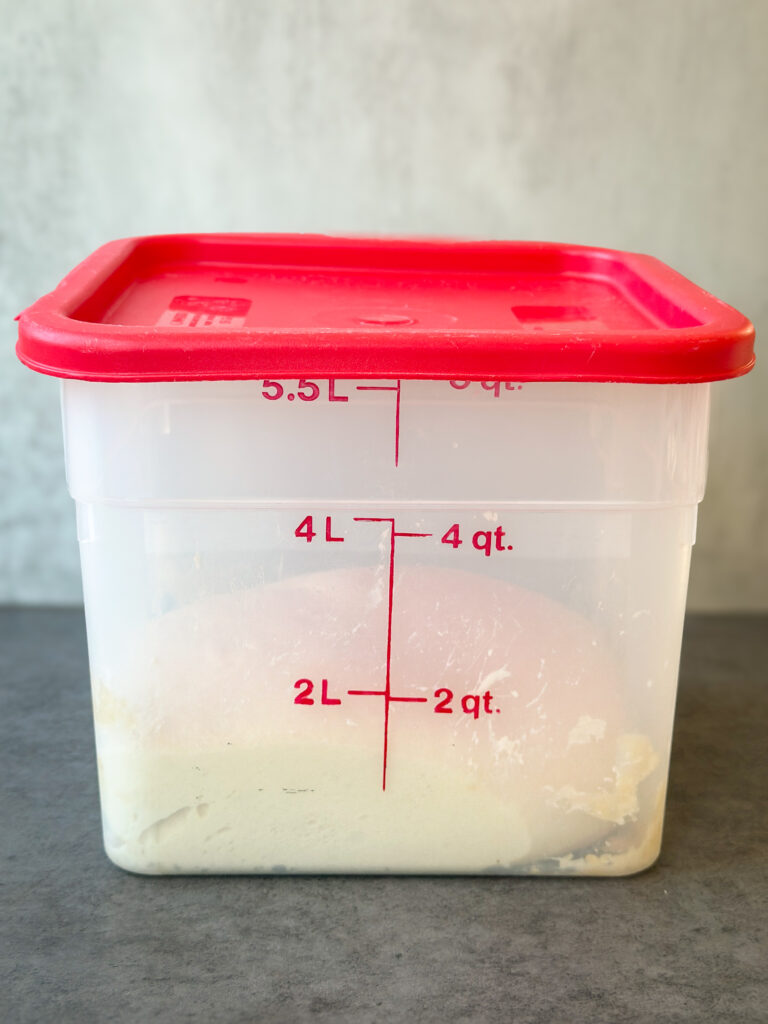
If the dough isn’t rising quickly, it’s probably too cold. Try placing it in the oven with a light on or on top of a warm dryer to heat it up so the starter can work.
Optional Overnight Fermentation: If you want to chill the dough overnight at this point for further fermentation benefits or to shape and bake the following day, simply cover the dough and transfer to the refrigerator to shape the next day.
Step 4: Shaping the Dough
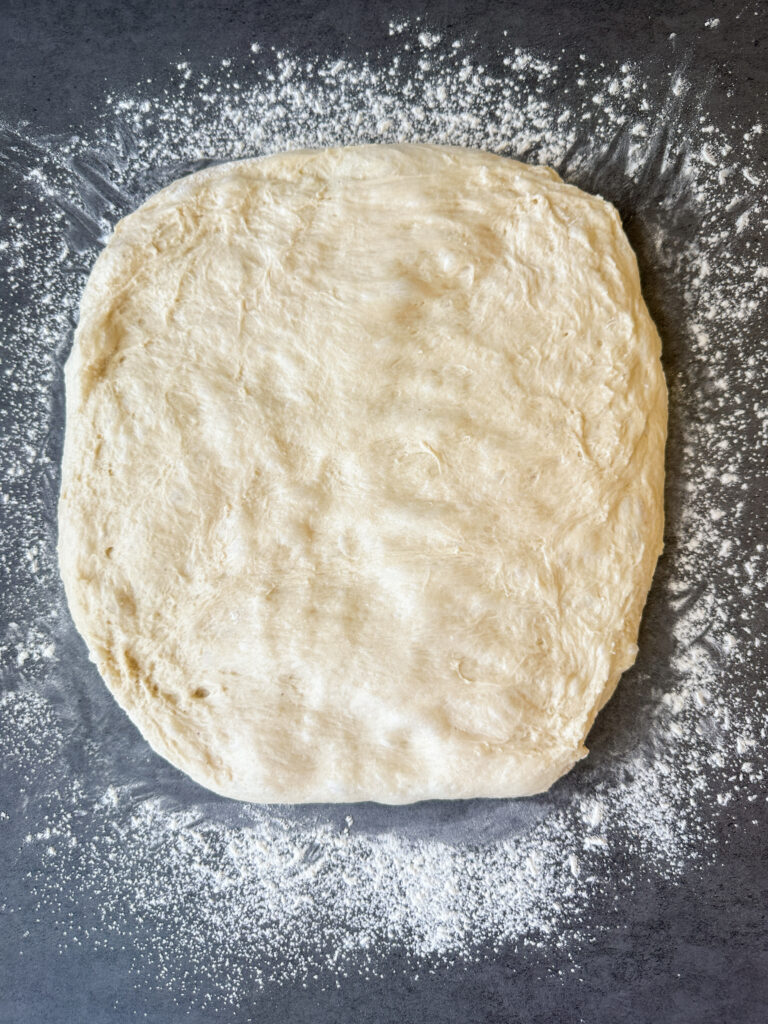
Lightly spray a clean work surface with cooking spray or dust with flour, then gently turn out your dough.
To shape the sandwich loaf: Gently stretch the dough about 8 inches wide and 9 inches long.
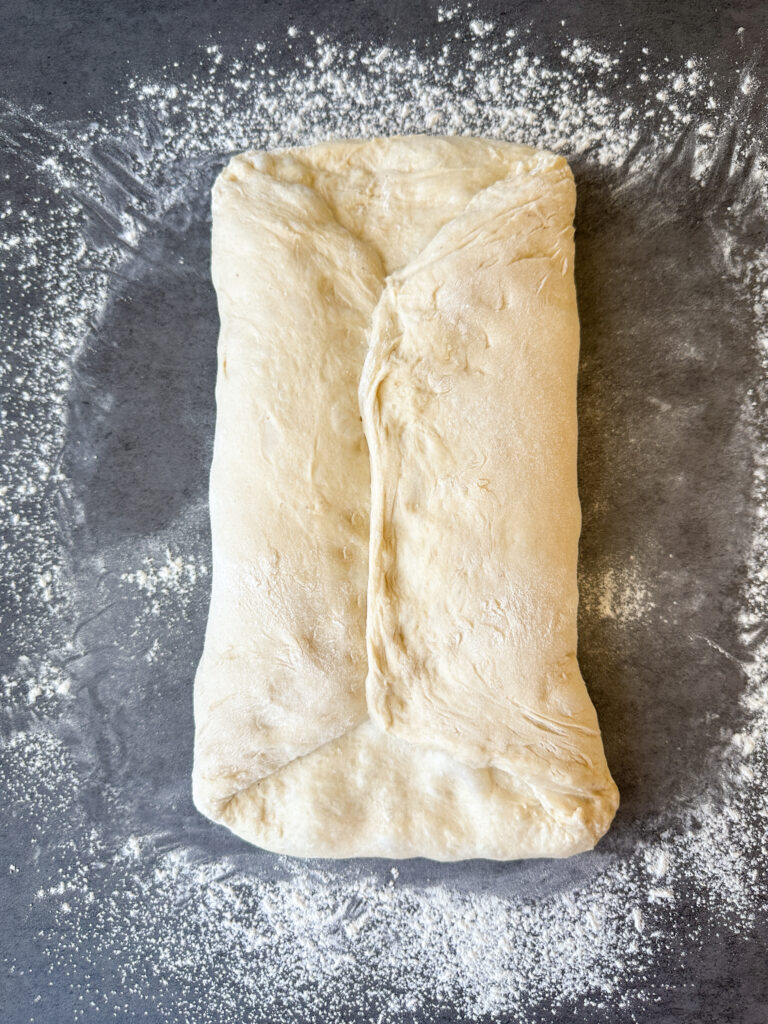
Starting with one of the (9 inch) sides, fold the dough into thirds over itself, like a letter. Repeat this step on the other side. You should now have a rectangle about 9 inches long and 5 inches wide.
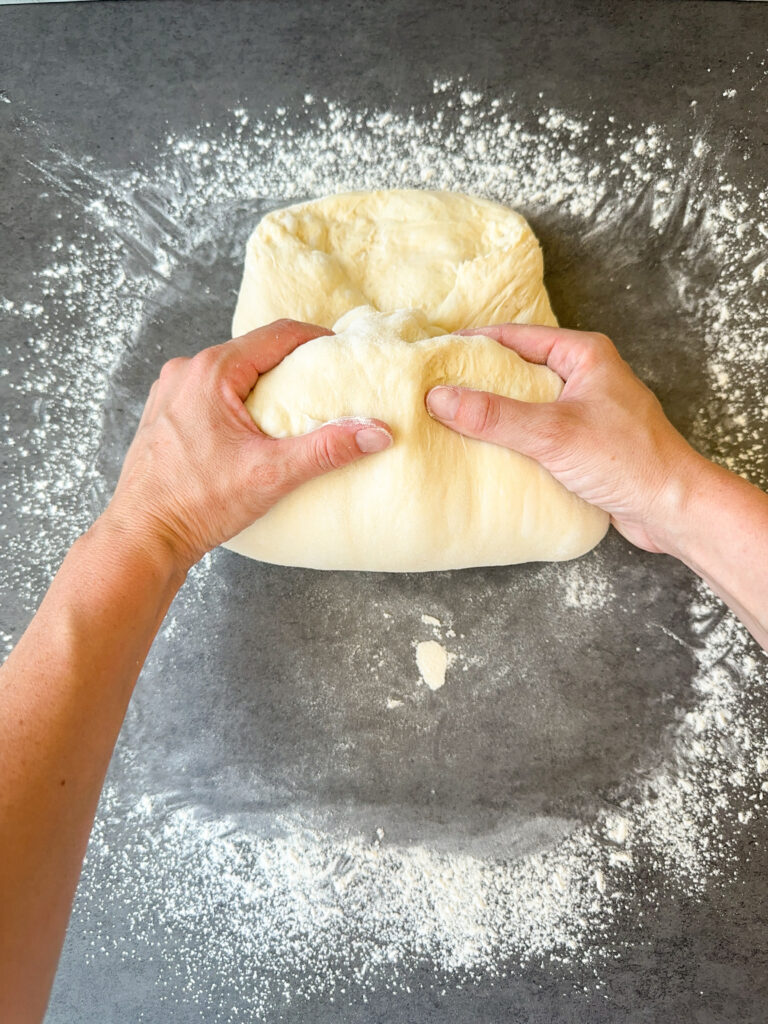
Starting at the bottom, roll the dough up gently to form a log shape. Pinch the seam and ends to seal.
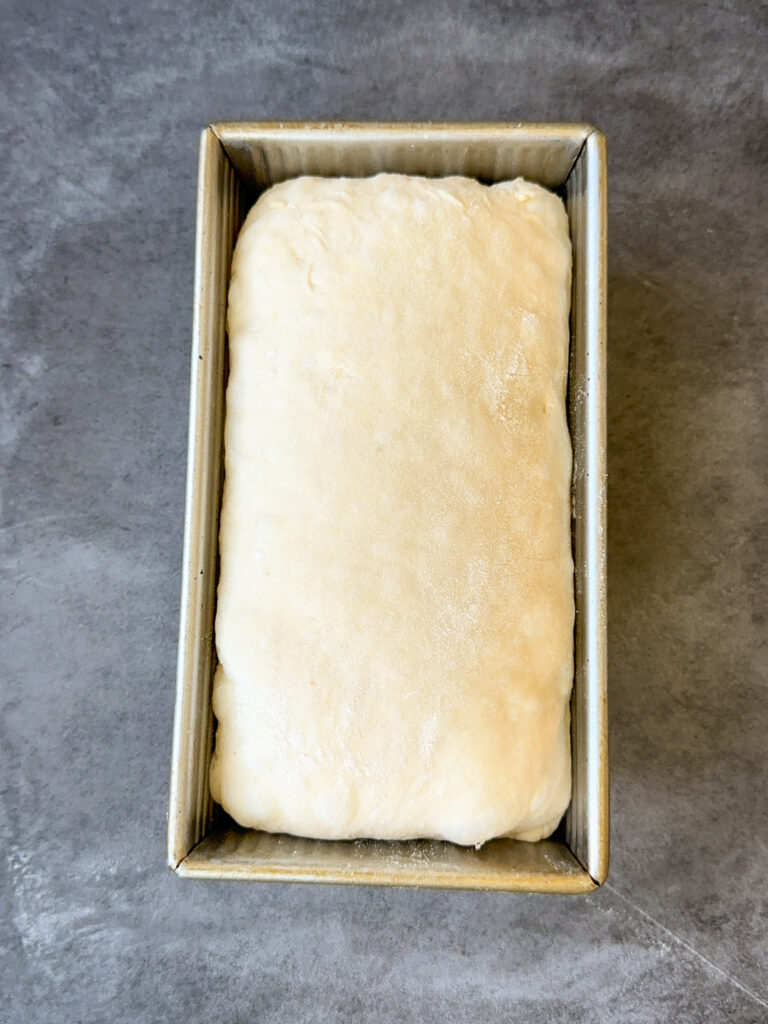
Transfer your loaf to the oiled pan, seam side down. Cover loosely with plastic or a damp towel to proof.
Step 5: Final Proofing
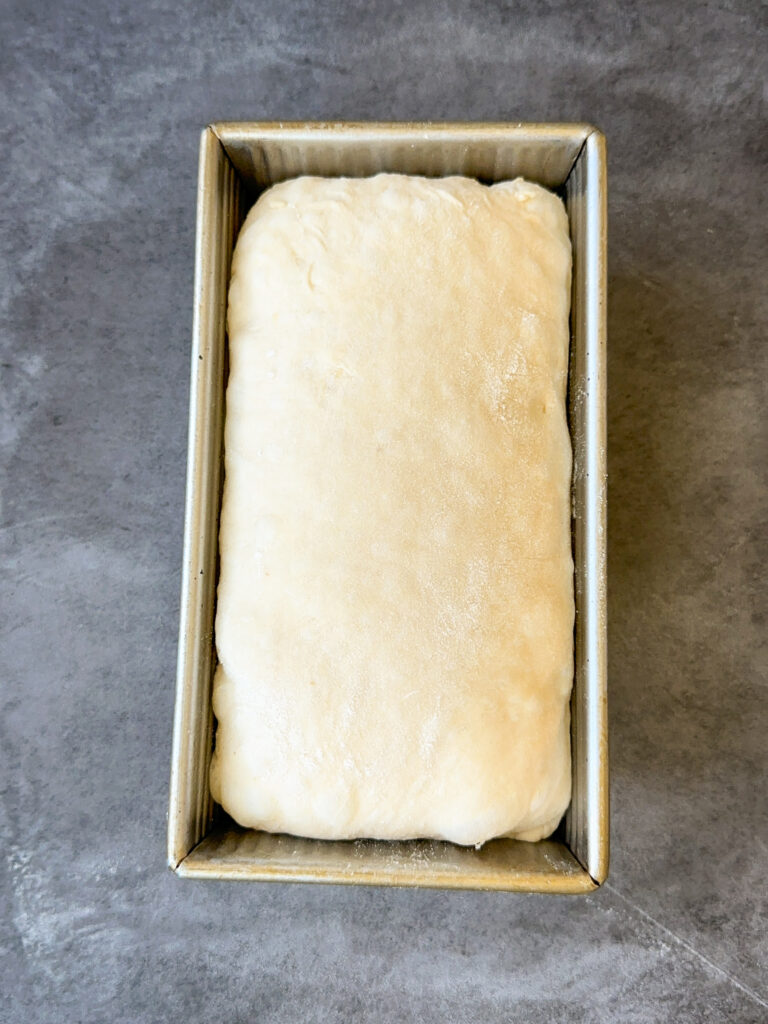
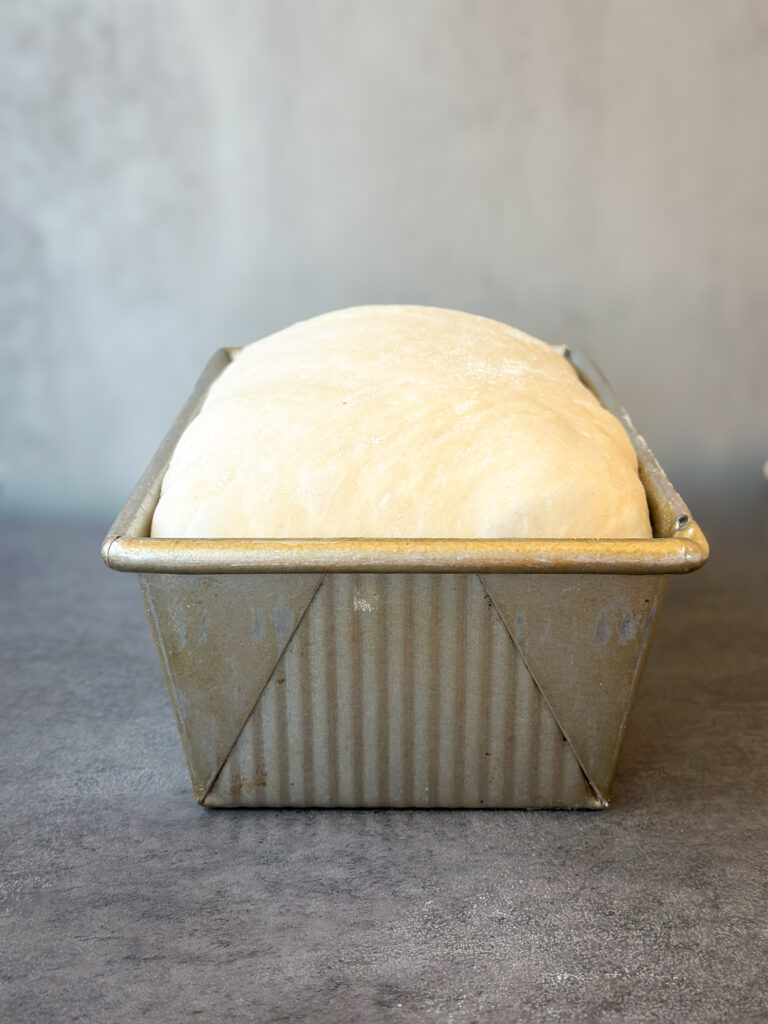
Allow the sandwich loaf to proof roughly an hour at room temperature covered, the dough should rise about 1/2 inch over the edge of the pan. Don’t skip this rise, it’s key to a light and airy loaf!
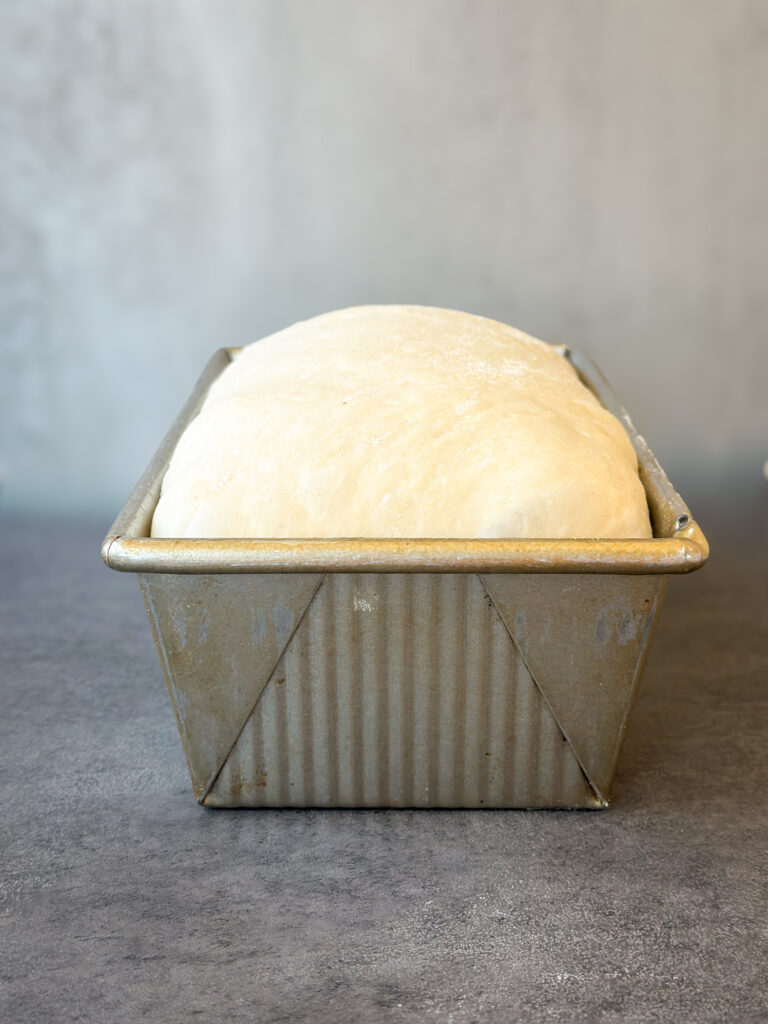
Overnight Fermentation Option: If you want to refrigerate your loaf overnight, simply cover the dough filled pan with plastic (I use a disposable shower cap) and transfer to the refrigerator overnight. You WILL NOT proof the dough in the pan until the next day.
When you’re ready to bake the loaf the next day, follow the directions to proof the dough over the edge of the pan before baking. Please note that this make take longer as the dough is colder, and that the loaf may brown more on the edges due to condensation.
Step 6: Baking the Bread
Preheat your oven to 400 F. Make sure your oven is full preheated before baking your bread.
Transfer your bread to the oven and bake for 30 minutes, then rotate the pan to avoid the edges over browning. If the top is browning too quickly, tent with foil at this point. All ovens are different so watch for this!
Bake the bread for another 20 minutes after this at 400 F, for a total of 50 minutes. Your bread internal temperature should read between 200-205 F, you can check this by inserting a digital thermometer into the side of the bread (Don’t worry, it won’t hurt it!).
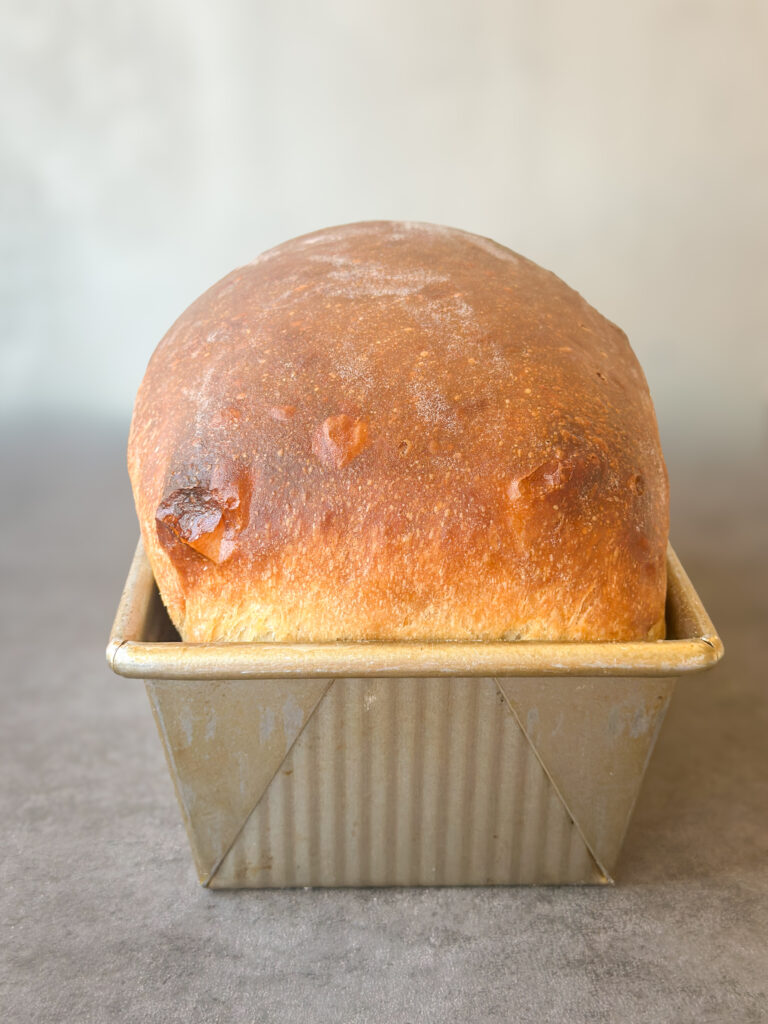
Remove the bread from the oven as soon as it’s finished baking, and let it rest in the pan a minute or two.
Once slightly cooled, brush the top with melted butter for a soft crust. Remove the bread from the pan and transfer the loaf to a wire cooling rack to completely cool and to prevent soggy crusts.
Allow bread to fully cool before slicing and serving!
Yields 1 sandwich loaf
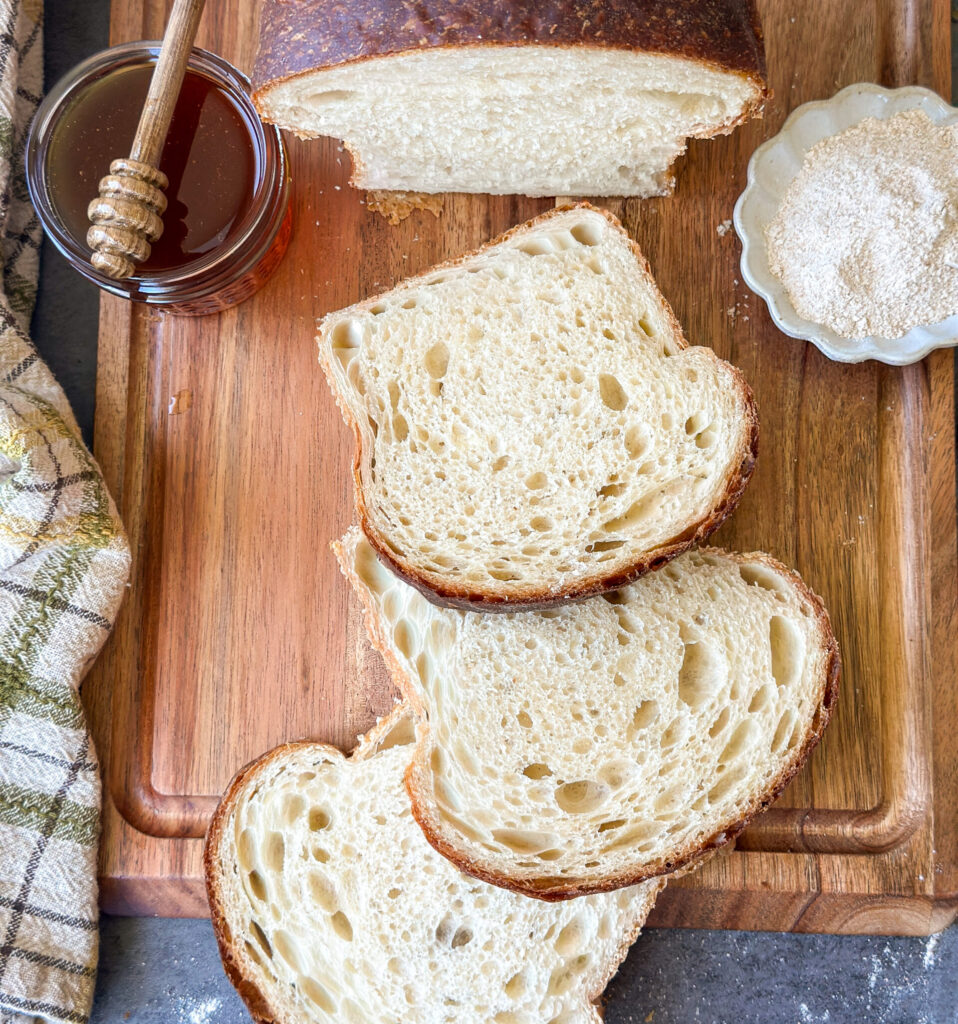
How to Store:
Room Temperature- Allow bread to cool completely before storing. Transfer to a sealed bag of your choice with the air removed. This sandwich bread will stay fresh at room temperature for 4-5 days before molding. For best results, slice and freeze by day 3-4 to extend freshness.
Freezer- Store sliced bread in a freezer-safe bag with as much air removed as possible. For easier separation, place pieces of parchment between the slices before freezing. Thaw at room temperature and toast directly for best flavor and texture.
FAQ’s
Yes. You can replace the honey with an equal amount of granulated sugar if preferred.
Your starter may not have been active enough, or your dough was too cold. Sourdough loves warmer environments try to keep your dough at 75 degrees (not warmer).
It likely needed more bake time or needed to cool longer before slicing. Make sure the bread cools fully and the internal temperature is at least 195 F.
If you enjoyed this recipe, drop a comment and leave a star review and don’t forget to try more of my sourdough bread recipes!
Sourdough Bread Recipes:
- Sourdough Brown Bread (Sandwich Style)
- Easy Sourdough Sandwich Bread
- Sourdough Cinnamon Raisin Swirl Bread
Sourdough Sandwich Bread (Egg Free)
Equipment
- Large bowl or straight edge container – You can use a bowl if you'd like, but I prefer to use a large square Tupperware with a straight edge so I can assess the rise of my dough easily. I use this Cambro 6 quart with a lid for up to 2 loaves at a time.
- digital kitchen scale – for accurate measuring as this recipe is in grams and cups, especially helpful with sourdough baking. This kitchen scale is great to start with.
- Digital food thermometer (optional) – to check the temperature of your dough and bread, this ensures a more reliable result. I use this one linked here.
- Dough Spatula (optional) – to help release the dough. I love this silicone dough spatula for mixing linked here.
- Loaf Pan – I always use these 1 lb sandwich loaf pans from USA Baking, they're reliable, don't stick, and give a golden finish to your bread.
- Cooling rack – to allow bread to cool.
- Bread knife – a quality bread knife is essential to even slices for your bread.
Ingredients
Sweet Levain:
- 1 1/2 (20g) Tbsp mature sourdough starter
- 1/4 (50g) cup water
- 1 (15g) Tbsp granulated white sugar
- 1/3 (50g) cup all-purpose flour
Wet Ingredients:
- 1/2 (100g) cup sweet levain or active sourdough starter
- 1 (225g) cup water room temperature
- 1/3 (100g) cup whole milk
- 3 (65g) Tbsp honey
- 4 (55g) Tbsp avocado oil
Dry Ingredients:
- 4 (500g) cups all-purpose flour
- 1 3/4 (10g) tsp sea salt
Garnish:
- 2 (30g) Tbsp salted butter melted
Instructions
Step 1: Feed the Sweet Levain the Night Before
- In a clean jar, mix your mother starter with the flour, sugar, and water. Give it a good stir, and allow it to rest at room temperature (optimally 73-75 degrees F). I like to mark the volume in my jar with a rubber band so it’s easy to asses the rise the next morning. When the starter/sweet levain has doubled in size, it’s time to mix your dough.1 1/2 (20g) Tbsp mature sourdough starter, 1/4 (50g) cup water, 1 (15g) Tbsp granulated white sugar, 1/3 (50g) cup all-purpose flour
Step 2: Mix the Dough
- In a mixing bowl, add the active sweet levain, warm water, whole milk, honey, and avocado oil and whisk until generally combined.1/2 (100g) cup sweet levain, 1 (225g) cup water, 1/3 (100g) cup whole milk, 3 (65g) Tbsp honey, 4 (55g) Tbsp avocado oil
- Once the wet ingredients are combined add the all-purpose or bread flour and salt to the bowl.4 (500g) cups all-purpose flour, 1 3/4 (10g) tsp sea salt
- With your hand or a dough spatula, combine the dough until it’s well mixed and forms a smooth ball. Cover the bowl/container with a lid or a damp towel, and allow it to rest 30 minutes in a warm place (75-78 degrees).
Step 3: Bulk Fermentation
- Once the dough has rested for 30 minutes, it’s time to perform the first set of stretch and folds.
- How to perform a stretch and fold: Beginning at the edge of the bowl, lift the dough up without tearing it, and fold it back into the center. Repeat this step around the edge of the bowl until the dough forms a ball. This is one set of stretch and folds. Cover the dough again and return it to a warm environment to rest 30 minutes.
- Repeat this step of stretch and folds a total of 3 times. You should see the dough go from shaggy to smooth.
- Once these stretch and folds are finished, cover the dough again and allow it to rest in a warm spot for roughly 6-8 hours and doubled in size. The key is to make sure this dough has doubled before you continue.
- If the dough isn’t rising quickly, it’s probably too cold. Try placing it in the oven with a light on or on top of a warm dryer to heat it up so the starter can work.
- Optional Overnight Fermentation: If you want to chill the dough overnight at this point for further fermentation benefits or to shape and bake the following day, simply cover the dough and transfer to the refrigerator to shape the next day.
Step 4: Shaping the Dough
- Lightly spray a clean work surface with cooking spray or dust with flour, then gently turn out your dough.
- To shape the sandwich loaf: Gently stretch the dough about 8 inches wide and 9 inches long.
- Starting with one of the (9 inch) sides, fold the dough into thirds over itself, like a letter. Repeat this step on the other side. You should now have a rectangle about 9 inches long and 5 inches wide.
- Starting at the bottom, roll the dough up gently to form a log shape. Pinch the seam and ends to seal.
- Transfer your loaf to the oiled pan, seam side down. Cover loosely with plastic or a damp towel to proof.
Step 5: Final Proofing
- Allow the sandwich loaf to proof roughly an hour at room temperature covered, the dough should rise about 1/2 inch over the edge of the pan. Don’t skip this rise, it’s key to a light and airy loaf!
- Overnight Fermentation Option: If you want to refrigerate your loaf overnight, simply cover the dough filled pan with plastic (I use a disposable shower cap) and transfer to the refrigerator overnight. You WILL NOT proof the dough in the pan until the next day.
- When you’re ready to bake the loaf the next day, follow the directions to proof the dough over the edge of the pan before baking. Please note that this make take longer as the dough is colder, and that the loaf may brown more on the edges due to condensation.
Step 6: Baking the Bread
- Preheat your oven to 400 F. Make sure your oven is full preheated before baking your bread.
- Transfer your bread to the oven and bake for 30 minutes, then rotate the pan to avoid the edges over browning. If the top is browning too quickly, tent with foil at this point. All ovens are different so watch for this!
- Bake the bread for another 20 minutes after this at 400 F, for a total of 50 minutes. Your bread internal temperature should read between 200-205 F, you can check this by inserting a digital thermometer into the side of the bread (Don’t worry, it won’t hurt it!).
- Remove the bread from the oven as soon as it’s finished baking, and let it rest in the pan a minute or two.
- Once slightly cooled, brush the top with melted butter for a soft crust. Remove the bread from the pan and transfer the loaf to a wire cooling rack to completely cool and to prevent soggy crusts.2 (30g) Tbsp salted butter
- Allow bread to fully cool before slicing and serving!
- Yields 1 sandwich loaf
Beautiful and delicious bread! I’ve made it 4 or 5 times already & it’s beautiful every time!
I have a question though, when I make the sweet levain it makes much more than what is required for the recipe. Do you have any other recipes I could use it in?
Hi Tamara, I’m so happy you love this recipe. I actually updated the card to reduce the sweet levain so you don’t have so much extra! But, if you wanted to make other recipes using a sweet levain, one of the most popular recipes in my Jumbo Sourodugh Cinnabons!