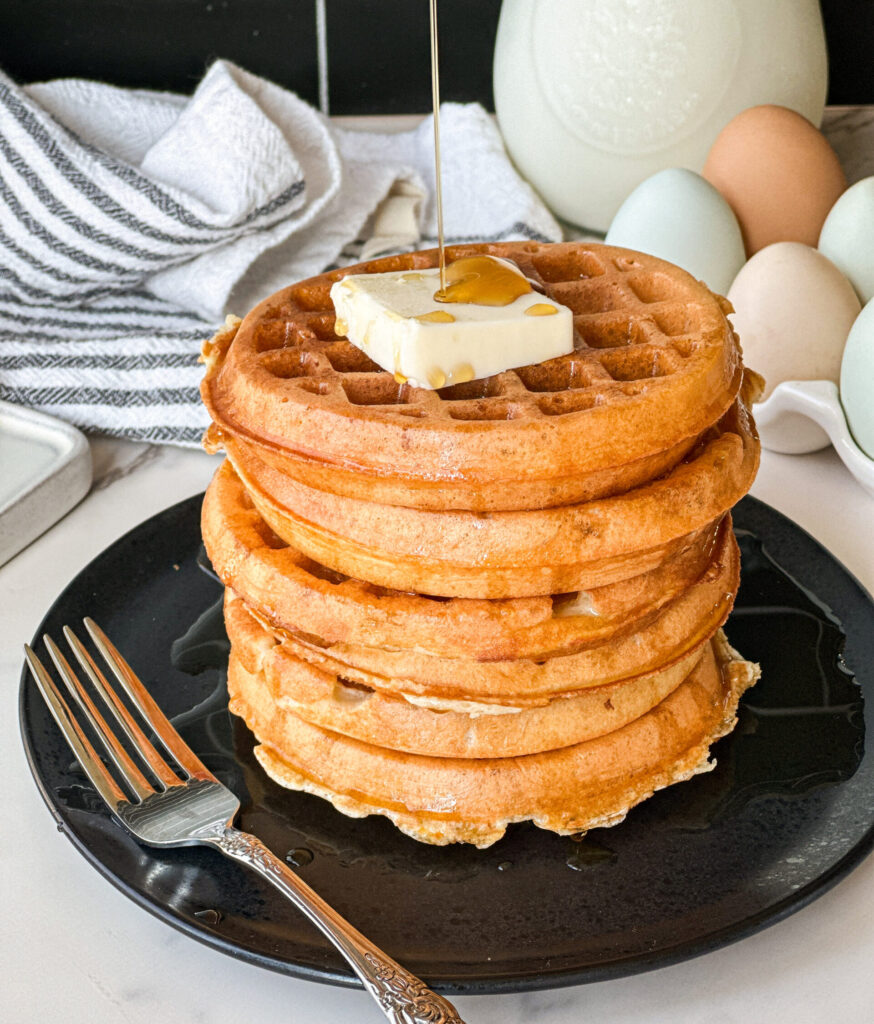
Sourdough Protein Waffles
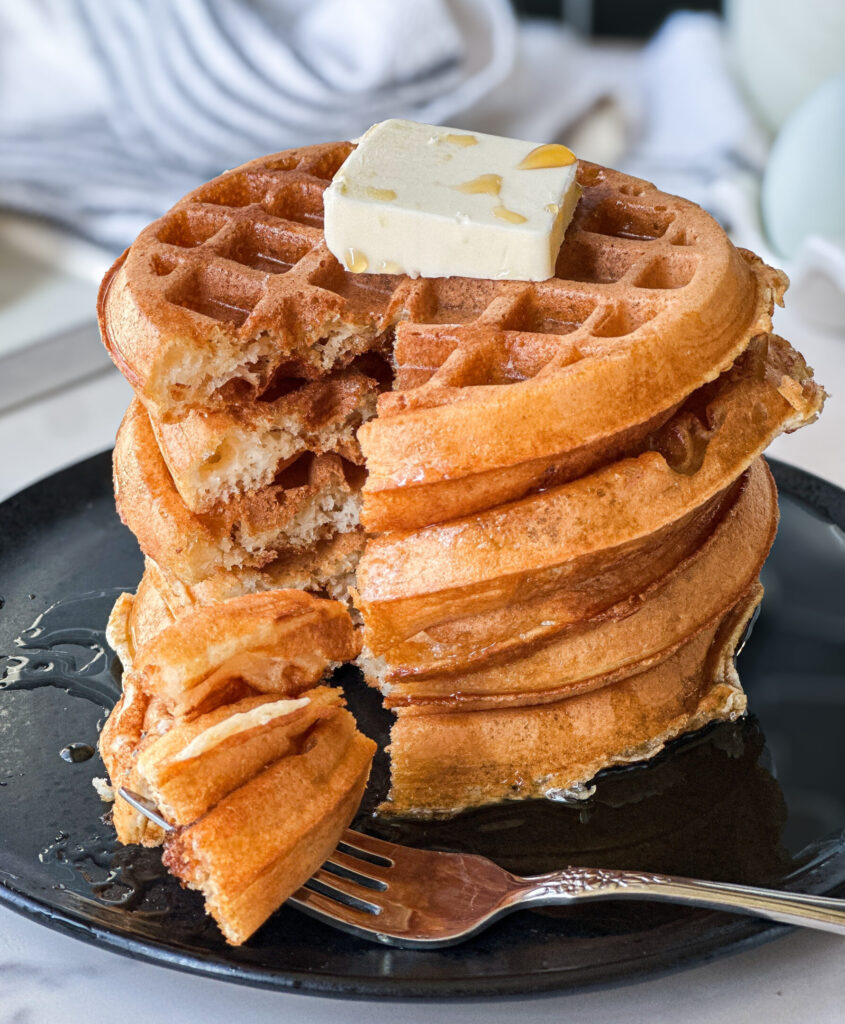
This recipe has been on repeat in my house for breakfast and meal preps, and I just know you’re going to love it too. These Sourdough Protein Waffles pack about 10 grams of protein per waffle, without any protein powder just real ingredients. They’re perfectly crispy on the outside, soft on the inside, and come together quickly with sourdough discard… or you can let the batter ferment overnight (I included a non-sourdough option too!). And the best part? They’re well loved by the whole family (even picky toddlers that resist their protein).
Why You’ll Love This Recipe
- Actually crispy waffles: Golden edges that stay crisp (I’ve included all my secrets to ensure a crisp waffle).
- High protein, no protein powder: Made with real ingredients for better flavor and on hand staples.
- Easy to prep + freezer friendly: Perfect for meal prep and toasts up beautifully on busy mornings.
- Whole family approved: Loved by everyone… even your picky eaters that don’t like protein.
- Non-sourdough option: Don’t want to use sourdough discard? I’ll tell you exactly how to skip it and make these protein waffles without it.
*As an amazon affiliate this post may contain affiliate links, which means I may receive a commission for qualifying purchases. I will only recommend products that I personally love and use.*
Tools You’ll Need:
- Large mixing bowl- for mixing your waffle batter.
- Blender- for blending the wet ingredients so they’re smooth. You can use an immersion blender as well.
- Digital kitchen scale (optional)– for accurate measuring, especially helpful with sourdough baking. I linked the one I like here.
- Measuring cups and spoons– for measuring ingredients.
- Whisk- to combine the waffle batter.
- Waffle iron- I have two waffle irons I love, this mini waffle iron and this regular sized waffle iron for larger servings. Both are great options and are non-stick so you get a nice crispy exterior to your waffle.
- 1/4 cup cookie scoop (optional)- for scooping the waffle batter. I like to use this scoop linked here.
- Fork- to remove waffles from waffle maker.
- Cooling rack (optional)- to cool waffles to avoid soggy edges.

Gather Your Ingredients:
- All-purpose flour: Gives structure to the batter while keeping the waffles soft. You can also substitute for bread flour if needed but I like the softness of all-purpose.
- Cornstarch (optional): This helps create that crisp exterior on the waffle. You can skip it if needed.
- Baking powder + baking soda: Creates the perfect lift and lightness to the waffles.
- Cottage cheese: Adds protein and moisture to the waffles. Key to creating a higher protein waffle (you can’t taste it!). You can substitute this for Greek yogurt.
- Sourdough discard: You can use starter that is fed, past peak, or straight from the fridge. If you choose to ferment the batter overnight this is key to fermentation.
- Buttermilk: This adds lovely flavor and thins the batter for the right consistency. I love to use buttermilk but milk or any non-dairy option will work.
- Eggs + egg whites: Eggs add structure, and extra egg whites add a boost of protein and lift to the waffles.
- Unsalted Butter: Butter adds so much flavor and helps the waffles get a crispy golden edge. If needed, you can substitute for any neutral cooking oil.
- Sugar: This adds a light sweetness and helps with browning. If you would like a sugar free option, you can try this Swerve Sugar Replacement Sweetener.
- Vanilla extract: Adds a touch of sweetness to balance the batter.
- Greek Yogurt (optional): If you want to skip the sourdough discard, you can replace the discard with Greek yogurt for extra protein without losing the same crisp texture.
Step-by-step Instructions
Step 1: Mix the Batter
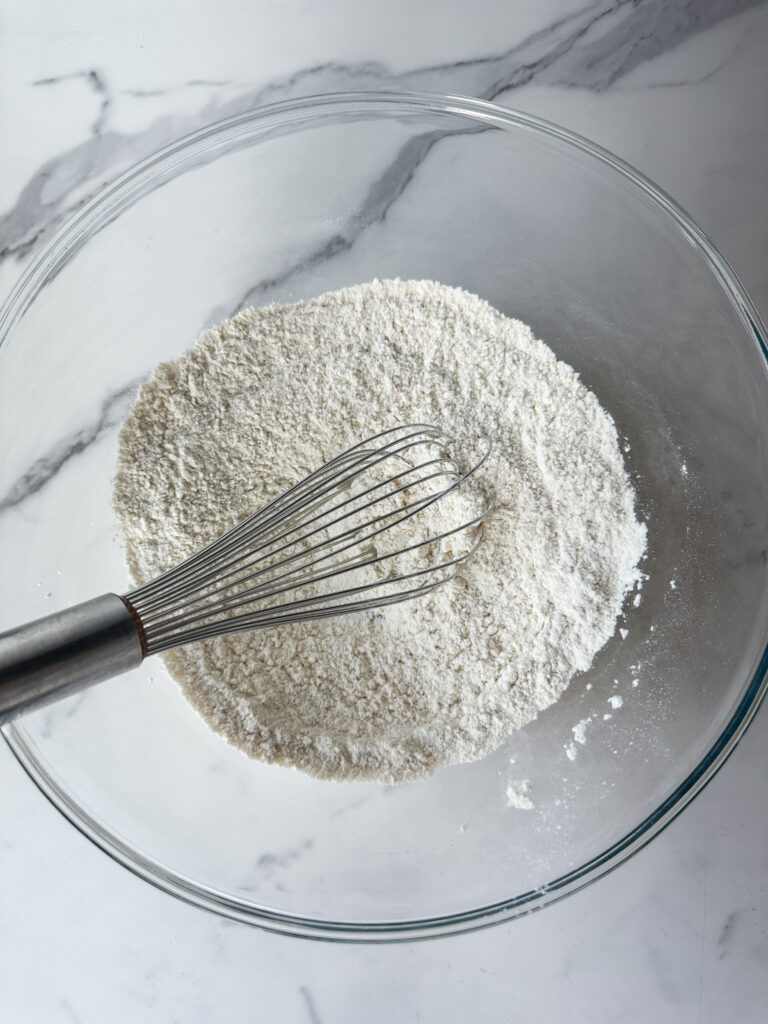
In a large mixing bowl, add the all-purpose flour, cornstarch, baking powder, baking soda, and salt. Whisk together to combine.
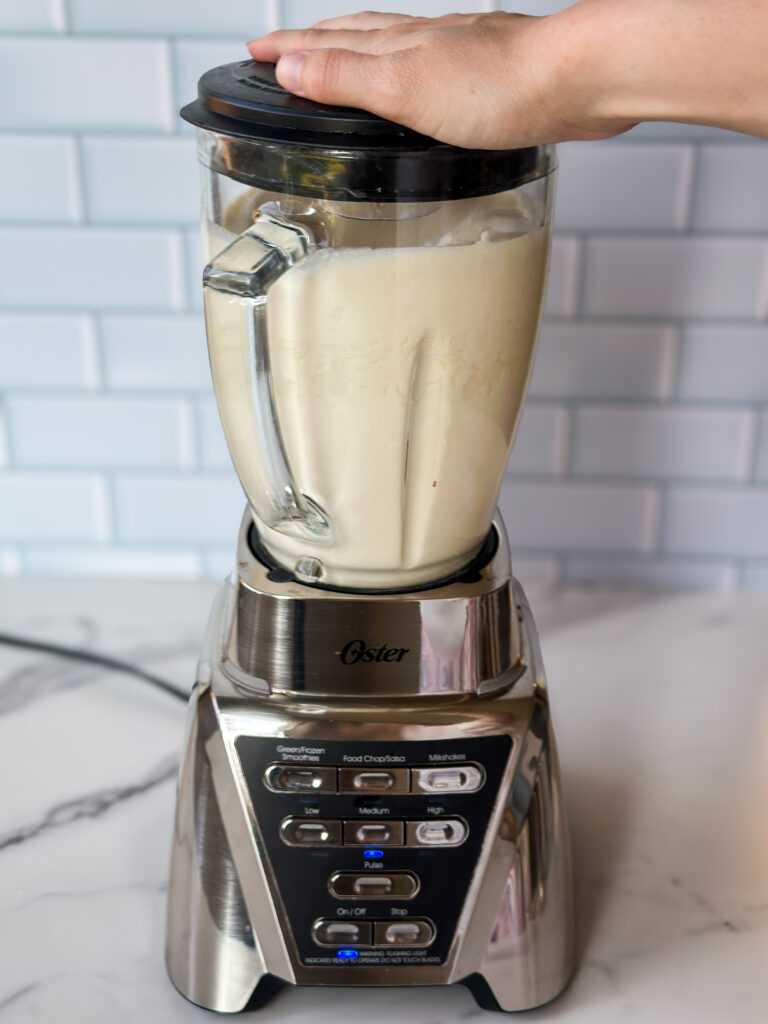
Next you’ll be blending your wet ingredients. This is key to a smooth texture! Add the cottage cheese, buttermilk or milk, eggs, egg whites, melted unsalted butter, sourdough discard, sugar, and vanilla to your blender. Blend on medium speed for 2-3 minutes until everything is smooth.
Sourdough Discard Swap Option: Use Greek yogurt to replace the discard if you want to make these waffles without sourdough discard.
Pour the blended wet ingredients into the dry ingredients, and whisk until all of the dry and wet ingredients are combined. Your batter should be thicker and have a few small lumps left.


Optional Overnight Fermentation: If you used sourdough discard and want the optional benefits of fermentation, simply cover the batter and allow it to rest overnight in the refrigerator and proceed with the recipe the next morning.
Step 2: Cook the Waffles
Allow your batter to rest and activate the baking soda and baking powder while you preheat your waffle iron.
The key to a crisp waffle is a hot iron, so even if you think it’s hot give it a few more additional minutes to preheat. I like to VERY lightly oil the iron with cooking spray, but you want to be careful with this as the oil can create additional steam that affects that crisp edge. Your iron may need no oil at all, so try it both ways!
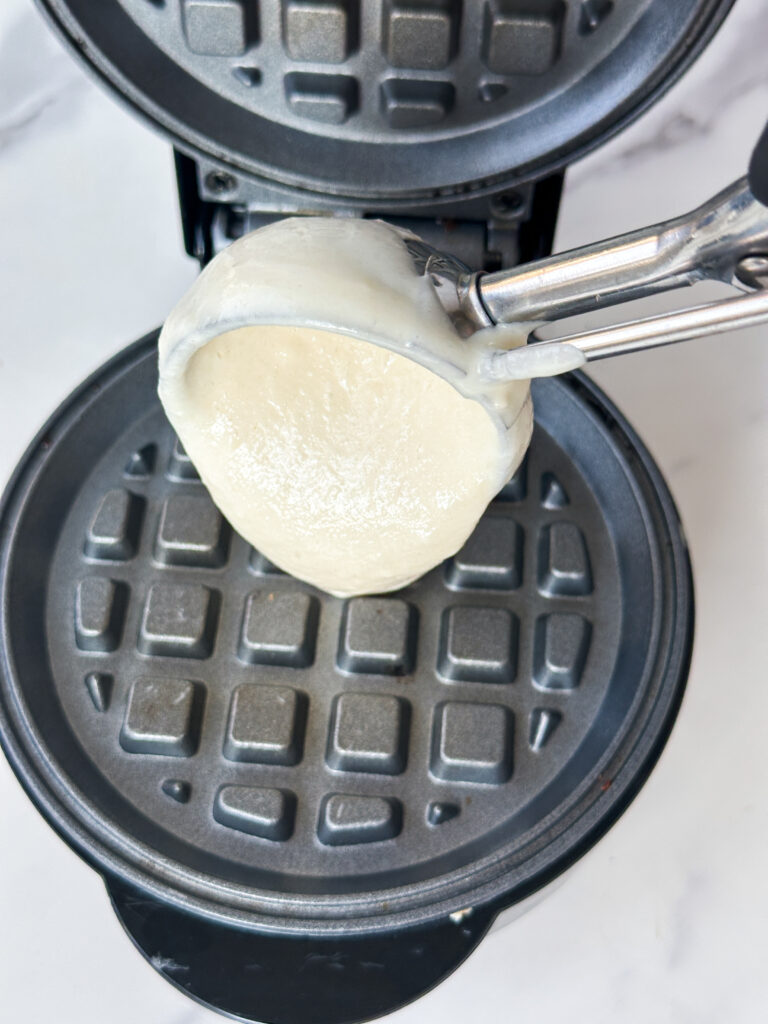
Scoop 1/4 cup of batter (this amount is for a mini waffle maker, use 1/2 cup if you’re using a regular sized waffle maker) on your hot iron.
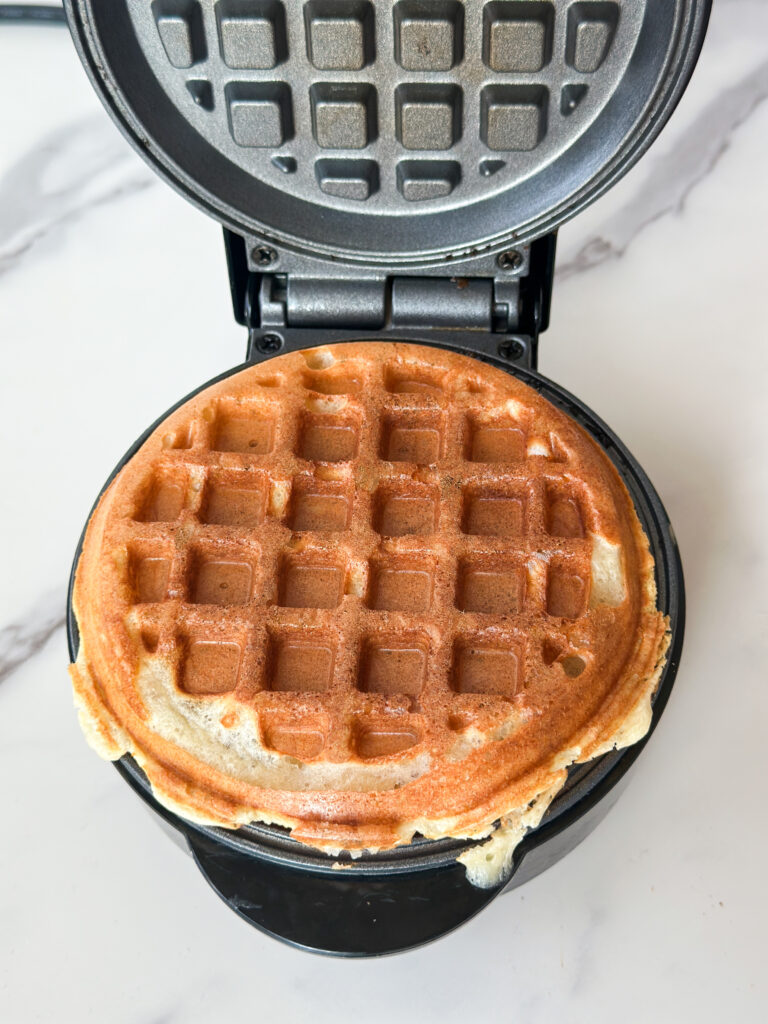
Close the lid and allow the waffle to cook about 4-5 minutes. I find these need a little extra time to get really crispy and golden, which is what we want with a perfect waffle!
Remove the waffle from the hot iron with a fork when it’s done, and transfer to a cooling rack for the waffle to cool down and release steam. Steam is the enemy of a crisp waffle.
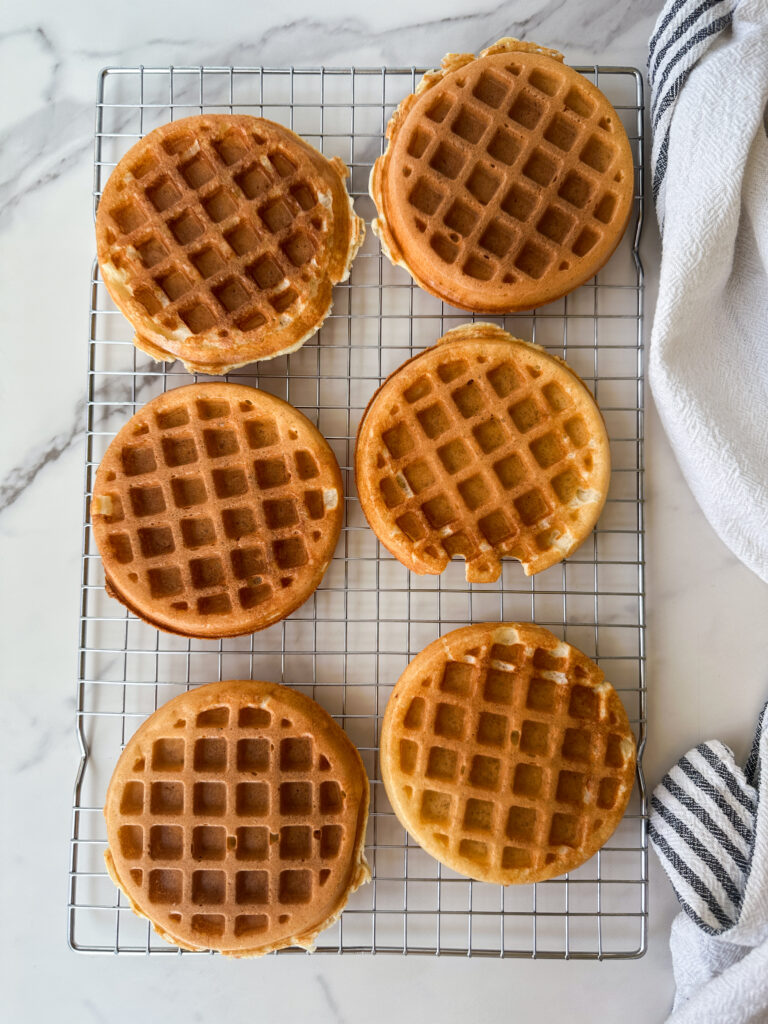
Note: If you stack hot waffles the steam can make them soft and soggy. Allow them to cool without touching to avoid this!
Repeat the step of scooping and cooking the waffles until all of the batter has been used.
Optional: keep waffles warm in a 200°F oven while finishing the batch.
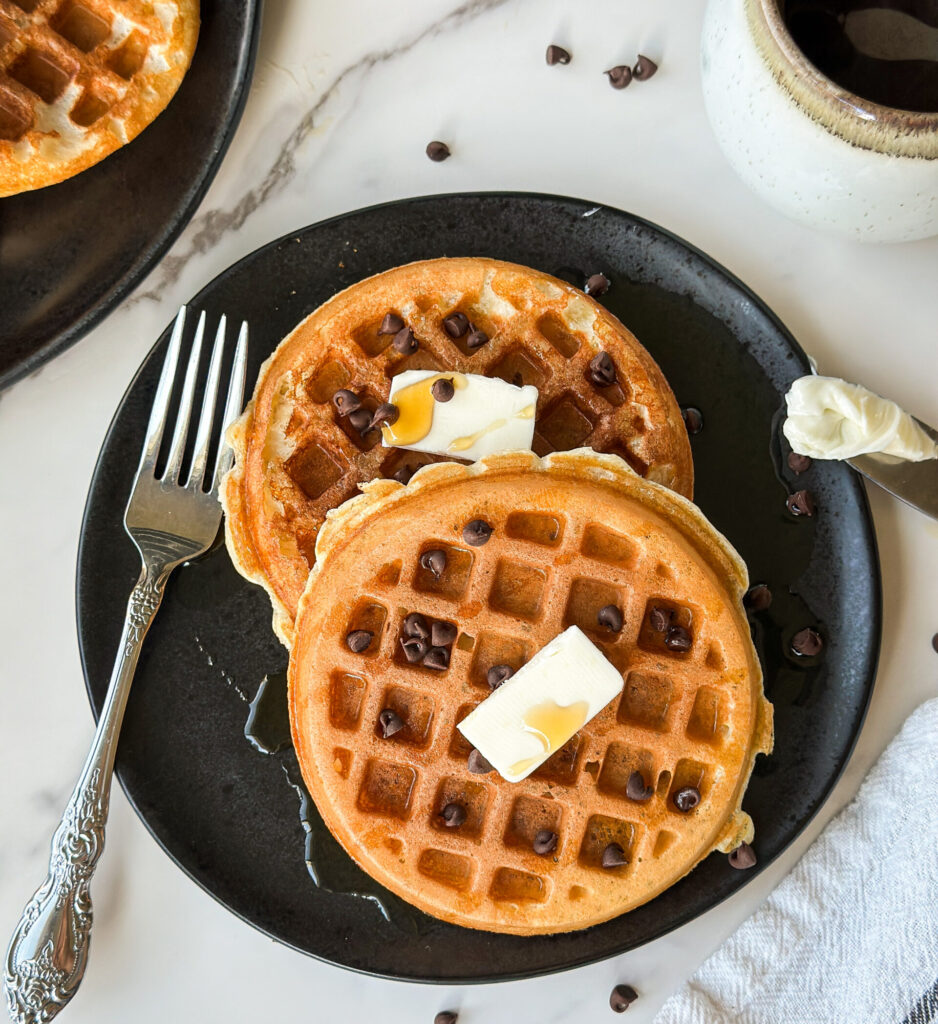
And that’s it! You have perfect waffles ready to be enjoyed right away or frozen and toasted for a busy week. Sprinkle with your favorite toppings and a drizzle of maple syrup (and don’t forget the butter).
Yields ~16 mini waffles or 8 large waffles (macros are based on regular sized waffles)
How to Store:
Refrigerator: Store in an airtight container for up to 3 days. Reheat in a toaster or warm in a 350°F oven to reheat and enjoy.
Freezer: Freeze waffles on a sheet pan in a single layer, then transfer to a bag for up to 2 months. If you want to skip the sheet pan, a piece of parchment between the waffles helps separate them when you’re ready to reheat them. Reheat in a toaster or warm in a 350°F oven to reheat and enjoy.
FAQ’s:
They likely needed: more cook time, or to be placed on a wire rack instead of stacked. Too much steam or over greasing the iron can make a softer waffle.
Yes, this is what gives you a smooth batter and fluffy waffles.
Yes! The overnight option just improves flavor and fermentation.
Swap the discard evenly for Greek yogurt.
You can, but they help keep the waffles light and boost protein.
If you enjoyed this recipe, drop a comment and star review and don’t forget to try more of my sourdough protein recipes like my Chewy PB Chocolate-Dipped Sourdough Protein Bars or these Sourdough Almond Maple Pecan Protein Bars!

Sourdough Protein Waffles
Equipment
- Large mixing bowl – for mixing your waffle batter.
- Blender – for blending the wet ingredients so they're smooth. You can use an immersion blender as well.
- Digital kitchen scale (optional) – for accurate measuring, especially helpful with sourdough baking. I linked the one I like here.
- Measuring cups and spoons – for measuring ingredients.
- Whisk – to combine the waffle batter.
- Waffle iron – I have two waffle irons I love, this mini waffle iron and this regular sized waffle iron for larger servings. Both are great options and are non-stick so you get a nice crispy exterior to your waffle.
- 1/4 cup cookie scoop (optional) – for scooping the waffle batter. I like to use this scoop linked here.
- Fork – to remove waffles from waffle maker.
- Cooling rack (optional) to cool waffles to avoid soggy edges.
Ingredients
Dry Ingredients:
- 2 (250g) cups all-purpose flour
- 1 Tbsp cornstarch optional
- 2 tsp baking powder
- ½ tsp baking soda
- ¾ tsp fine sea salt
Wet Ingredients:
- 1 (225g) cup cottage cheese
- 1/2 (120g) cup sourdough discard
- 1½ (360g) cups buttermilk or milk
- 2 large eggs
- 3 (80g) egg whites
- 4 (65g) Tbsp unsalted butter melted
- 3 (45g) Tbsp granulated sugar
- 2 tsp vanilla extract
Sourdough Discard Swap Option:
- 1/2 (120g) cup Greek yogurt
Instructions
Step 1: Mix the Batter
- In a large mixing bowl, add the all-purpose flour, cornstarch, baking powder, baking soda, and salt. Whisk together to combine.2 (250g) cups all-purpose flour, 1 Tbsp cornstarch, 2 tsp baking powder, ½ tsp baking soda, ¾ tsp fine sea salt
- Next you'll be blending your wet ingredients. This is key to a smooth texture! Add the cottage cheese, buttermilk or milk, eggs, egg whites, sourdough discard, melted butter, sugar, and vanilla to your blender. Blend on medium speed for 2-3 minutes until everything is smooth.1 (225g) cup cottage cheese, 1/2 (120g) cup sourdough discard, 1½ (360g) cups buttermilk or milk, 2 large eggs, 3 (80g) egg whites, 4 (65g) Tbsp unsalted butter, 3 (45g) Tbsp granulated sugar, 2 tsp vanilla extract
- Sourdough Discard Swap Option: Use Greek yogurt to replace the discard if you want to make these waffles without sourdough discard.1/2 (120g) cup Greek yogurt
- Pour the blended wet ingredients into the dry ingredients, and whisk until all of the dry and wet ingredients are combined. Your batter should be thicker and have a few small lumps left.
- Optional Overnight Fermentation: If you used sourdough discard and want the optional benefits of fermentation, simply cover the batter and allow it to rest overnight in the refrigerator and proceed with the recipe the next morning.
Step 2: Cook the Waffles
- Allow your batter to rest and activate the baking soda and baking powder while you preheat your waffle iron.
- The key to a crisp waffle is a hot iron, so even if you think it’s hot give it a few more additional minutes to preheat. I like to VERY lightly oil the iron with cooking spray, but you want to be careful with this as the oil can create additional steam that affects that crisp edge. Your iron may need no oil at all, so try it both ways!
- Scoop 1/4 cup of batter (this amount is for a mini waffle maker, use 1/2 cup if you’re using a regular sized waffle maker) on your hot iron.
- Close the lid and allow the waffle to cook about 4-5 minutes. I find these need a little extra time to get really crispy and golden, which is what we want with a perfect waffle!
- Remove the waffle from the hot iron with a fork when it’s done, and transfer to a cooling rack for the waffle to cool down and release steam. Steam is the enemy of a crisp waffle.
- Note: If you stack hot waffles the steam can make them soft and soggy. Allow them to cool without touching to avoid this!
- Repeat the step of scooping and cooking the waffles until all of the batter has been used.
- Optional: keep waffles warm in a 200°F oven while finishing the batch.
- And that’s it! You have perfect waffles ready to be enjoyed right away or frozen and toasted for a busy week. Sprinkle with your favorite toppings and a drizzle of maple syrup (and don’t forget the butter).
- Yields ~16 mini waffles or 8 large waffles