
Sourdough Petite Vanilla Bean Scones
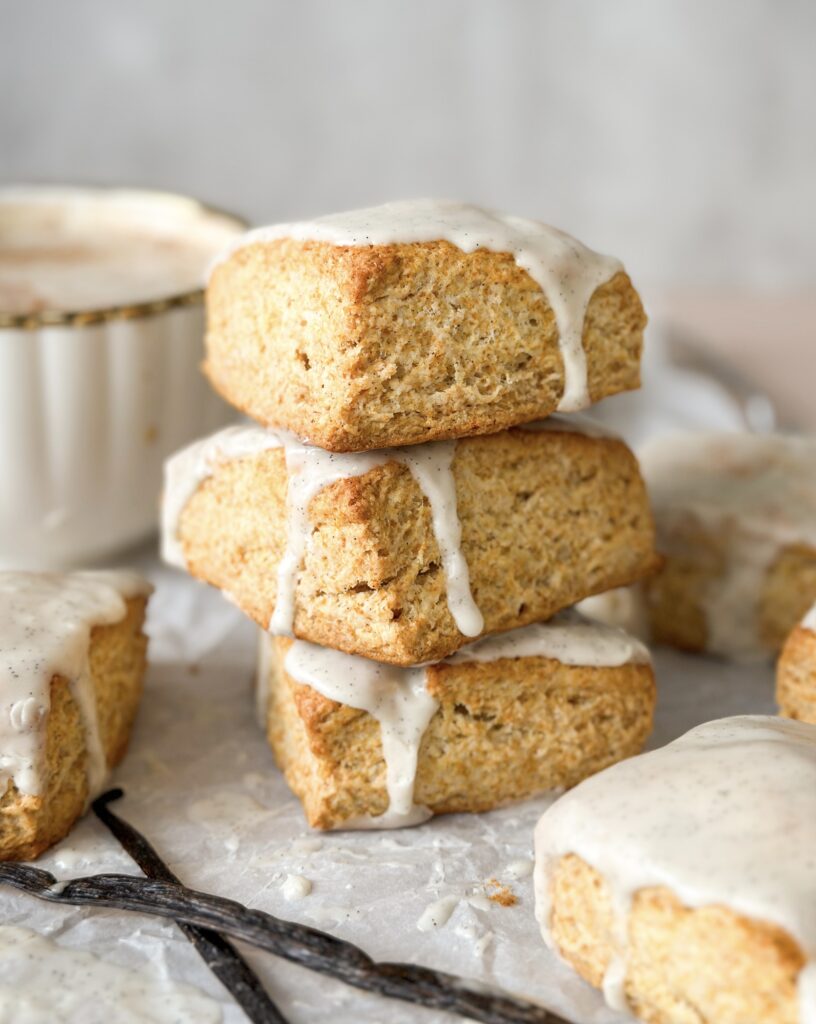
I’m such a sucker for anything Starbucks, and the bakery items are no exception. These Sourdough Petite Vanilla Bean Scones are my homemade take on the coffee shop classic, and have quickly become a favorite among my friends and family. Once you make these, you’ll know exactly why! They’re buttery with delicate layers, and the real vanilla bean adds that familiar and cozy flavor. Finished off with a simple vanilla bean glaze, they’re perfect for recreating your favorite cafe’ treat right at home.
Why You’ll Love This Recipe
- Just like Starbucks- these little scones are just like the classic, or dare I say, better?
- Perfect for sourdough discard– Have discard sitting in the frig? This recipe is a delicious way to use it up.
- Packed with real vanilla- Made with real vanilla bean paste or vanilla bean pods for true vanilla flavor.
- Flaky texture- cold butter works with the dough to create those soft, flaky layers you want in a scone.
- Easy to prep ahead- these scones can be mixed ahead and refrigerated the day ahead for convenient baking.
*As an amazon affiliate this post may contain affiliate links, which means I may receive a commission for qualifying purchases. I will only recommend products that I personally love and use.*
Tools You’ll Need:
- Large mixing bowl- for mixing your scones.
- Cheese grater- for grating the butter, I use this grater linked here. You can also use your food processor with the grating attachment.
- Kitchen Scale (optional)– for precise measurements if desired.
- Measuring cups and spoons– for measuring ingredients.
- Whisk- to combine ingredients for glaze.
- Microwave Safe Bowl- to melt butter.
- Small mixing bowl– for the vanilla bean glaze.
- Bench Knife- to cut scones into desired sizes. I love this bench knife linked here.
- Parchment Paper- to line the baking sheet to avoid sticking.
- Baking Sheet- to bake the scones.
- Pastry Brush- to brush scones with cream.
- Cooling rack- to cool the scones.
Gather Your Ingredients:
- All-Purpose Flour- Provides structure while keeping the scones tender rather than dense or bready.
- Baking powder – Helps with lift and rise.
- Baking soda – Balances acidity from the sourdough discard.
- Sea Salt- Enhances the vanilla flavor and balances the sweetness.
- Unsalted Butter- Creates flaky layers and tender pockets throughout the dough without overworking.
- Honey- Adds gentle sweetness and moisture, keeping the scones soft without overpowering the vanilla.
- Sourdough discard– Adds moisture and flavor to your dough. Cold from the refrigerator is best.
- Heavy Cream- Provides fat for richness and helps bind the dough for a bakery-style texture.
- Vanilla Bean Paste or Vanilla Bean Seeds- I like to use vanilla bean paste, but you can also use the seeds from vanilla bean pods.
- Powdered Sugar- to sweeten and thicken the vanilla bean glaze. Don’t use granulated sugar or the glaze will be gritty.

Step-by-step Instructions
Step 1: Mix the Dough
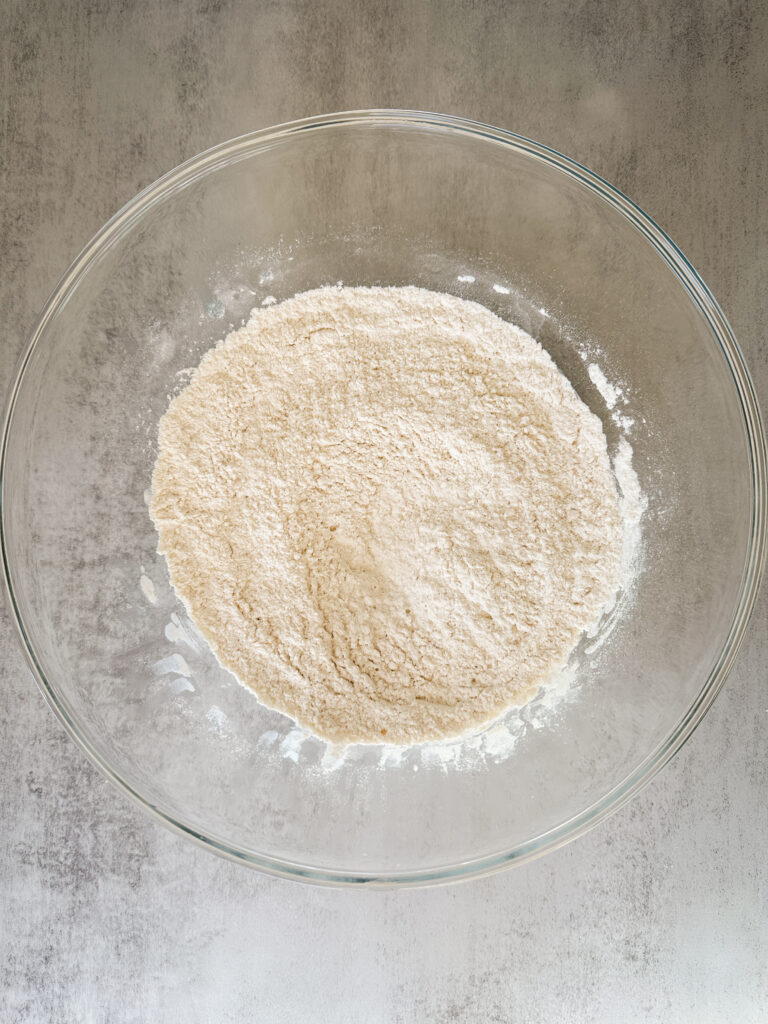
In a large mixing bowl, whisk together flour, baking powder, baking soda, and salt.
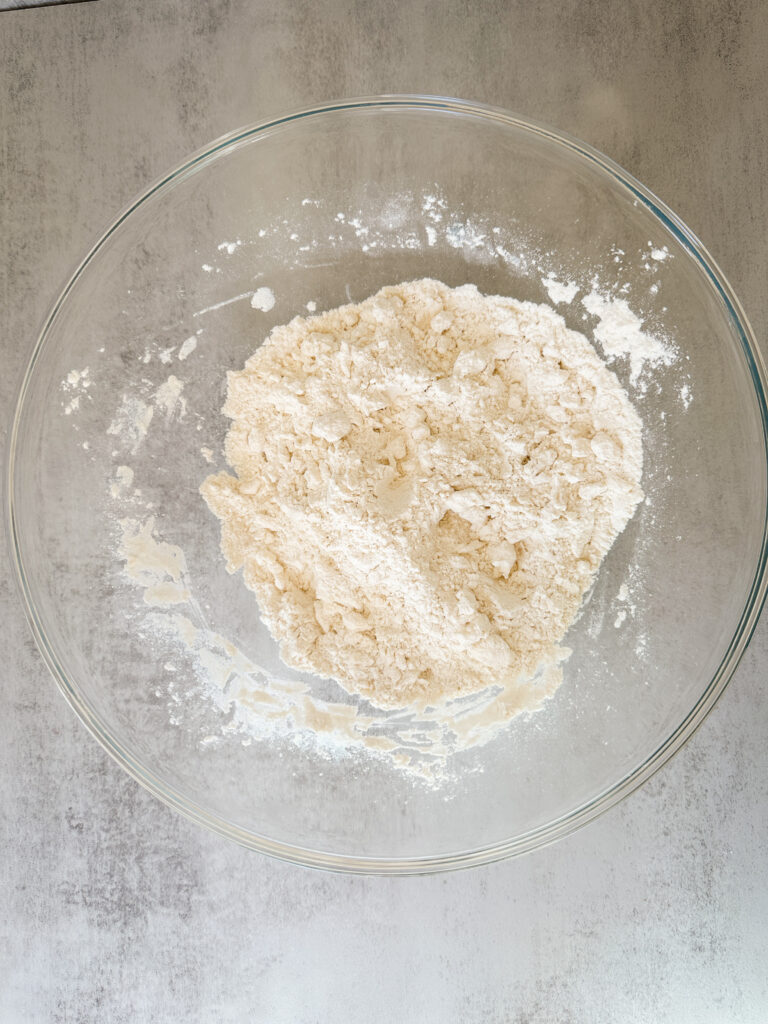
Using a cheese grater or a food processor using the grating attachment, grate your cold butter into bits.
Add the butter to the dry ingredients, and coat all of the butter with the dry ingredients and the butter forms pea sized crumbles.
Add the honey, cold sourdough discard, and vanilla bean paste to the dough. If you are choosing to use the vanilla bean pods, cut one open and scrape the seeds out with a knife and add to the dough.
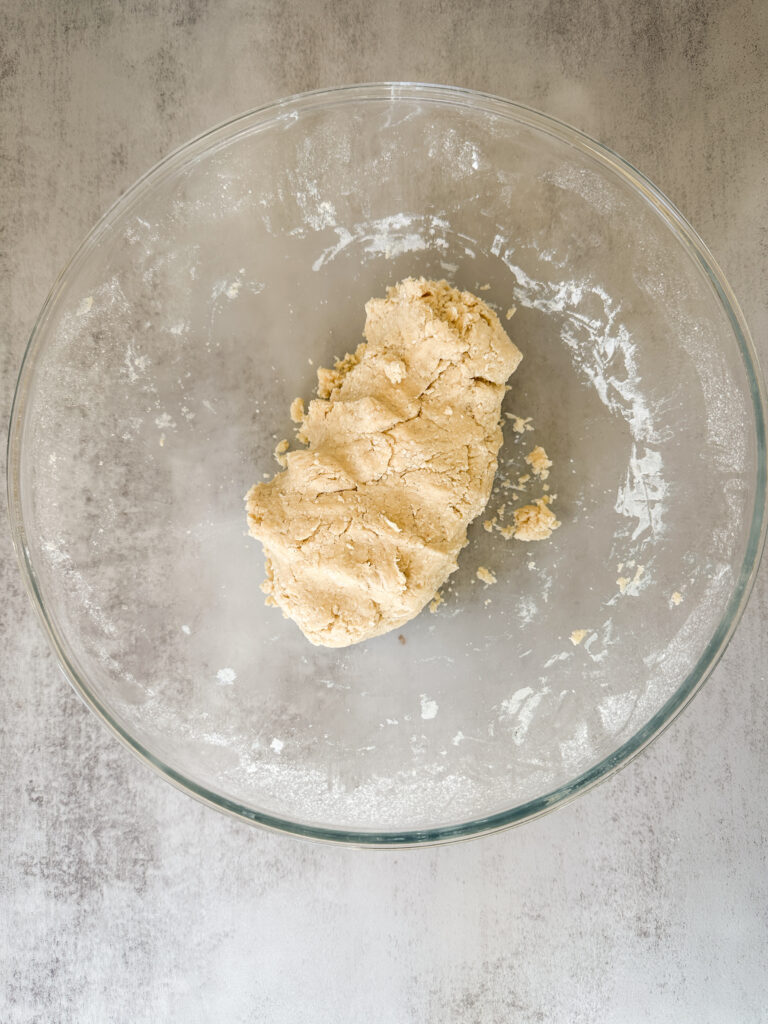
Mix the dough with your hands or a pastry blender until the dough starts to ball together. Add the heavy cream to the dough and use your hands to bring the dough together to from a rough ball.
Step 2: Shape and Bake the Scones
Turn this dough out onto a clean lightly floured surface. Pat the dough into a rough square, and cut the dough in half. Pat each square of dough into a circular disc, about 1 inch thickness and 4 inches wide.
Overnight Fermentation: if you want this dough to ferment overnight, simply wrap the 2 discs with plastic and allow to rest in the refrigerator overnight. When you’re ready to shape the scones, remove from the refrigerator and proceed with the recipe.
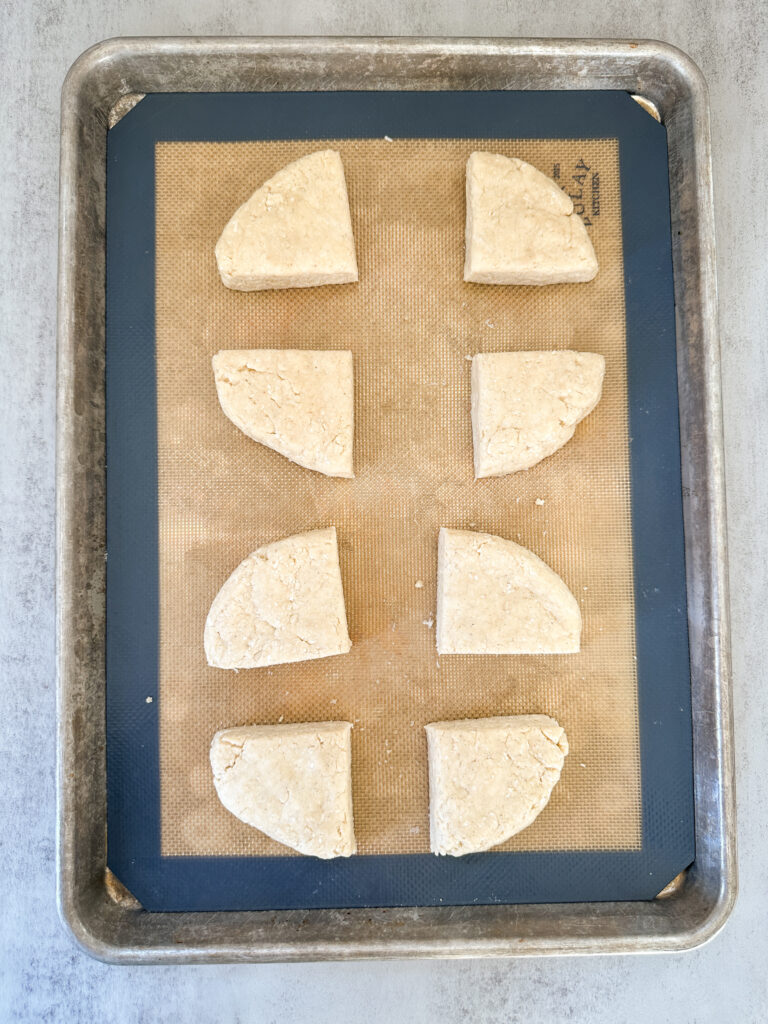
Preheat oven to 400°F (200°C). Line a baking sheet with parchment paper or a silicone mat.
Transfer the 2 discs of dough to the lined baking sheet, then cut each disc in half then in quarters to create your scones.
If you didn’t chill the scones overnight, transfer the scones on the baking sheet to the refrigerator for 30 minutes to help the butter harden.
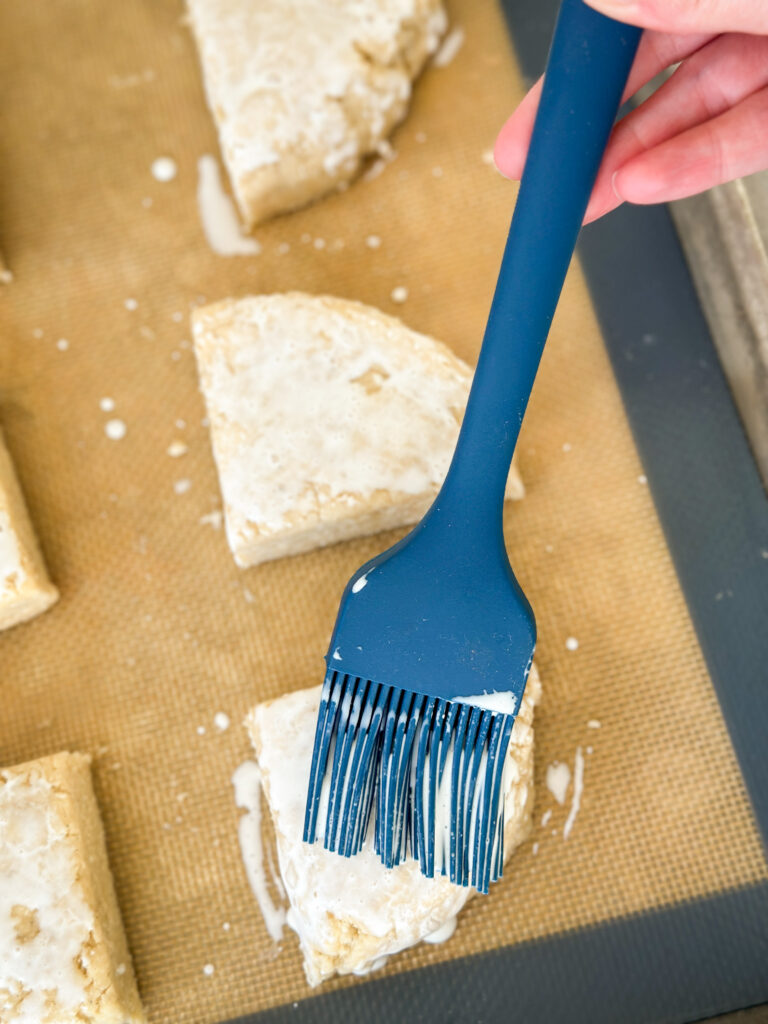
Once the scones have chilled, brush the tops with heavy cream and transfer the scones to the preheated oven.
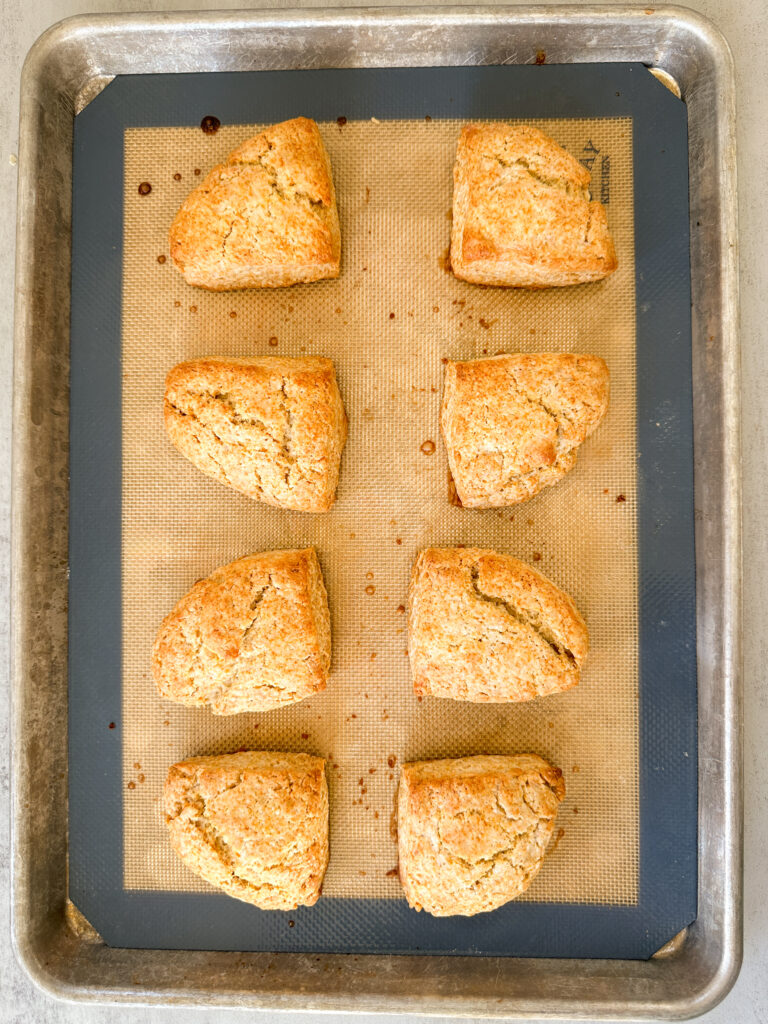
Bake the scones for 15-17 minutes, the tops should be golden and the centers just set.
Remove from the oven immediately and transfer to a cooling rack to fully cool before you glaze them.
Step 3: Glaze the Scones
In a microwave safe bowl, melt the butter for 30 seconds in the microwave.
Add the vanilla bean paste or the the seeds of another vanilla bean to the butter, and whisk the butter and vanilla together.
Add the powdered sugar and milk to the bowl, and whisk the glaze until it’s smooth. You want a glaze that’s thick but still spreadable. If the glaze is too thin add a little more powdered sugar or if it’s too thick add a teaspoon at a time of the milk until the glazed is your desired consistency.
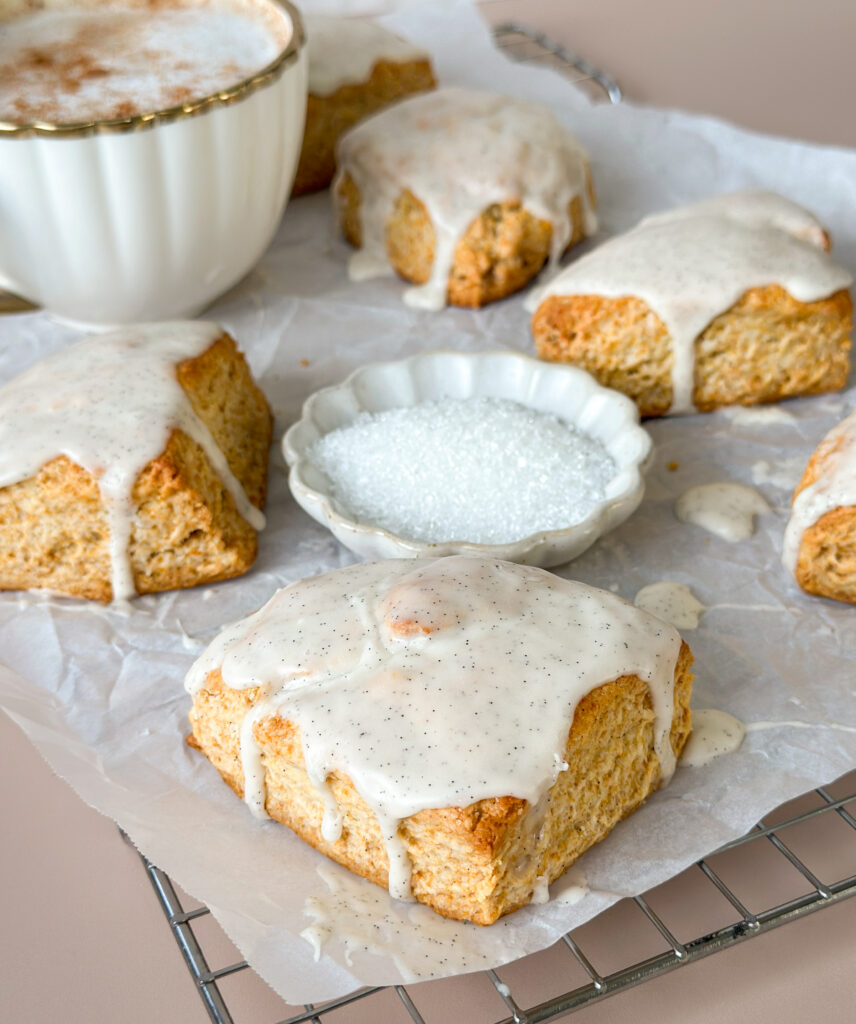
Spoon the glaze on the tops of the cooled scones, spreading the glaze evenly over the tops. Allow the glaze to set on the scones for 10-20 minutes, then serve with a hot cup of coffee or tea!
Yields 8 small scones

How to Store:
Room temperature- Store scones in an airtight container for up to 2 days.
Refrigerator- Store scones in the refrigerator for up to 4 days in an airtight container.
Freezer- freeze unbaked, unglazed scones up to 2 months. Bake from frozen (add a few more minutes to your bake time) and glaze fresh for best quality.
FAQ’S:
Can I make these scones larger?
Yes! Shape the dough into one large round then cut the dough into 1/8ths.
Can I make these scones even smaller?
Yes. Divide the dough into 3 sections, then pat down into discs and divide each disc into quarters.
Do I have to use a vanilla bean paste or vanilla bean pods?
You can use a high quality vanilla extract, but if you want that visible vanilla bean speck use a paste or a scraped vanilla bean.
Why chill the scones before baking?
Chilling keeps the butter cold, helping the scones rise and bake up tall and flaky instead of spreading.
If you enjoyed this recipe, drop a comment and star review and don’t forget to try more of my sourdough discard recipes like my Sourdough Discard Cinnamon Roll Bites!

Sourdough Petite Vanilla Bean Scones
Equipment
- Large mixing bowl – for mixing your scones.
- Cheese grater – for grating the butter, I use this grater linked here. You can also use your food processor with the grating attachment.
- Kitchen scale (optional) – for precise measurements if desired.
- Measuring cups and spoons – for measuring ingredients.
- Whisk – to combine ingredients for glaze.
- Microwave-safe bowl – to melt butter.
- Small mixing bowl – for the vanilla bean glaze.
- Bench knife – to cut scones into desired sizes. I love this bench knife linked here.
- Parchment paper – to line the baking sheet to avoid sticking.
- Baking Sheet – to bake the scones.
- Pastry brush – to brush scones with cream.
- Cooling rack – to cool the scones.
Ingredients
Scone Dough:
- 2 (250g) cups all-purpose flour
- 1½ teaspoons baking powder
- ½ teaspoon baking soda
- ½ teaspoon kosher salt
- ½ (113g) cup unsalted butter cold
- ¼ (75g) cup honey
- ⅓ (80g) cup sourdough discard cold
- 1/4 (50g) cup heavy cream
- 2 teaspoons vanilla bean paste or seeds from 1 vanilla bean pod
Cream Wash:
- 2 (30g) tablespoons heavy cream
Vanilla Bean Glaze:
- 1 (120g) cup powdered sugar
- 1 tablespoon vanilla bean paste or seeds from 1 vanilla bean pod
- 2 (28g) tablespoons whole milk
- 1 (15g) Tablespoon unsalted butter melted
Instructions
Step 1: Mix the Dough
- In a large mixing bowl, whisk together flour, baking powder, baking soda, and salt.2 (250g) cups all-purpose flour, 1½ teaspoons baking powder, ½ teaspoon baking soda, ½ teaspoon kosher salt
- Using a cheese grater or a food processor using the grating attachment, grate your cold butter into bits.½ (113g) cup unsalted butter
- Add the butter to the dry ingredients, and coat all of the butter with the dry ingredients and the butter forms pea sized crumbles.
- Add the honey, cold sourdough discard, and vanilla bean paste to the dough. If you are choosing to use the vanilla bean pods, cut one open and scrape the seeds out with a knife and add to the dough.¼ (75g) cup honey, ⅓ (80g) cup sourdough discard, 2 teaspoons vanilla bean paste
- Mix the dough with your hands or a pastry blender until the dough starts to ball together. Add the heavy cream to the dough and use your hands to bring the dough together to from a rough ball.1/4 (50g) cup heavy cream
Step 2: Shape and Bake the Scones
- Turn this dough out onto a clean lightly floured surface. Pat the dough into a rough square, and cut the dough in half. Pat each square of dough into a circular disc, about 1 inch thickness and 4 inches wide.
- Overnight Fermentation: if you want this dough to ferment overnight, simply wrap the 2 discs with plastic and allow to rest in the refrigerator overnight. When you're ready to shape the scones, remove from the refrigerator and proceed with the recipe.
- Preheat oven to 400°F (200°C). Line a baking sheet with parchment paper or a silicone mat.
- Transfer the 2 discs of dough to the lined baking sheet, then cut each disc in half then in quarters to create your scones.
- If you didn’t chill the scones overnight, transfer the scones on the baking sheet to the refrigerator for 30 minutes to help the butter harden.
- Once the scones have chilled, brush the tops with heavy cream and transfer the scones to the preheated oven.2 (30g) tablespoons heavy cream
- Bake the scones for 15-17 minutes, the tops should be golden and the centers just set.
- Remove from the oven immediately and transfer to a cooling rack to fully cool before you glaze them.
Step 3: Glaze the Scones
- In a microwave safe bowl, melt the butter for 30 seconds in the microwave.1 (15g) Tablespoon unsalted butter
- Add the vanilla bean paste or the the seeds of another vanilla bean to the butter, and whisk the butter and vanilla together.1 tablespoon vanilla bean paste
- Add the powdered sugar and milk to the bowl, and whisk the glaze until it’s smooth. You want a glaze that’s thick but still spreadable. If the glaze is too thin add a little more powdered sugar or if it’s too thick add a teaspoon at a time of the milk until the glazed is your desired consistency.1 (120g) cup powdered sugar, 2 (28g) tablespoons whole milk
- Spoon the glaze on the tops of the cooled scones, spreading the glaze evenly over the tops. Allow the glaze to set on the scones for 10-20 minutes, then serve with a hot cup of coffee or tea!
- Yields 8 small scones


The Vanilla Bean Scones are amazing!! I highly recommend this recipe!
I’m so glad this recipe was well loved! Thank you for your review!
These were so easy to make with simple ingredients and loved the flavour omg! And the icing is wildly delicious I will be making a lot more so good🩷
Thank you so much for trying these and for your comment, GIa! So happy you loved them!
This recipe is FANTASTIC. I loved that your recipe didn’t require an egg or two like most recipes which makes a dense scone to me. I do not have heavy cream handy at all times, would you recommend to substitute with whole milk or perhaps a substituted homemade buttermilk (milk + lemon)?
Hi! Thank you for your review- I’m so happy this recipe came out well! I personally would substitute for whole milk or butter milk even half and half- I wouldn’t try to do a homemade buttermilk, I find lemon juice can affect the texture combined with fermentation of not done strategically.
These were very easy to make and came out so well. They smell great and have the perfect vanilla taste. I accidentally put all my liquids into the dry bowl then mixed it up. It took a little bit longer to get the dough but still turned out well with great layers. Will be making again!
Hi Abby,
I’m so happy you loved these vanilla bean scones! Thank you for your comment!
Am I able to freeze the dough and then bake it at a later date? By the way, I love your recipes. You are truly gifted.
Hi Gisele, thank you so much for your sweet comment and YES you can!
1. Shape and cut the scones as directed
2. Place on a parchment lined baking sheet
3. Freeze for 1-2 hour, until solid
4. Transfer to a ziplock and remove all air and freeze up to 1 month.
5. Bake from frozen after you brush the tops with cream
6. You may need an extra 2-4 minutes of bake time.
Enjoy!